As is only right and proper, Operation:Regency starts with underwear. Specifically, the shift/chemise or the loose sack that goes directly against the skin. In the pre-1600 periods I normally sew in this garment would be made of linen, and indeed I’ve sewn many, MANY metres of linen into underwear, but for Regency we do cotton. I’ve got a massive amount of cotton muslin courtesy of my mother, who is my chief enabler.
I’m using two extantchemises held by the V&A as my models. Though one is believed to be English and the other French, they look very similar in construction. After much debate with my brain trust I have concluded that although they are definitely flared out at the bottom, there are no gores creating this flared shape – in other words, the front and back of the shifts are cut as single pieces and then just seamed up the sides. The frugal crafter in me is SCANDALIZED at the notion of cutting pieces like this because we could do it so much more efficiently with gores, but I’m going for it. Also, no gores means less sewing.
You know what else means less sewing? Chemises with no sleeves or gussets. Score.
I can’t go see these two chemises in person because the V&A’s research centre is currently closed while they move across London, so I’m having to resort to more conjecture than I’d really like. (Yes, I know I said this outfit was going to be less picky about the historical details. Don’t judge me.)
After washing and ironing the cotton (obviously) I elected to go with the hem and whipstitch assembly method. It’s entirely possible that shifts like these were seamed and then the edges felled down to finish, but I dislike this method intensely and find I get a much better finished garment with the hem and whipstitch method, so that’s what I’m doing. I hemmed the long sides and the tops of the shoulders before sewing those down, remembering to leave the armholes open.
Once the whole thing was in one piece, I hemmed the bottom edge and the neck opening. At this point the garment is finished and wearable and I could just move on, but my example garments have lace trim and whitework embroidery and I am always down for some ridiculously extra underwear. So that’s what’s next.
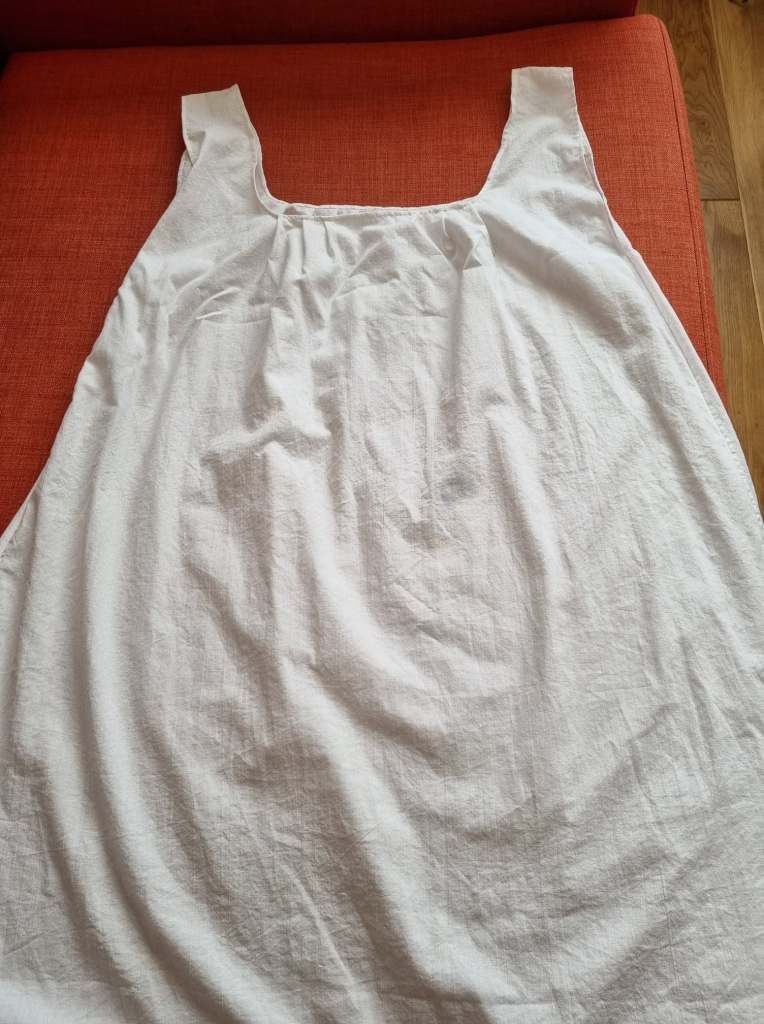
I mean, I TOLD you it was a white sack. I wasn’t exaggerating.
Please enjoy this awful late-night photo of the “finished” shift prior to starting work on the embroidery. The observant will note that my exemplars do not have any pleating at the neck. Mine does because I had a moment when cutting the thing out and it ended up being far too wide, so, pleats. Oh well.
While obviously the fourteenth is the One True CenturyTM, I have gradually been working my way towards a bit of dabbling in something a little more modern. And by “dabbling” I mean “flinging myself up to my eyeballs in cotton muslin and tambour embroidery because I didn’t already have enough hobbies”.
Oops?
So yeah. Regency. It’s on my Big List of Life Goals and everything, so since I’m still in the planning stages I thought I might do something truly radical and try out this business of … writing down my plans and research in advance instead of doing it retrospectively. I hear it’s a thing.
Phase one of research-in-advance is figuring out just what comprises “an outfit”. Happily,this century has the advantage of literally hundreds of extant garments in easily-accessible museum collections. Also, Jane Austen novels helpfully list out all sorts of garments. Love it when rereading classic literature doubles as clothing research.
At this period in history we have reached a point when daywear and evening/formalwear were Very Different, at least as far as the actual frocks were concerned. So that’s going to be a decision I need to make once I get to making the frock part. Also, so that it is on the record – I’m not planning to make a straight-up interpretation of any historical garments. I have half an eye towards making some Regency-inspired frocks to replace the worn-out cotton maxi dresses I live in during the summer months, plus if we ever get to the point of the After Times I will return to having occasional formalwear events for work that I quite fancy making something for. So the understructure will probably end up being fair accurate insofar as “accurate” is a Thing, but I may wear low-necked frocks for daywear. gasp Also my spouse is a delight and a joy but a lady’s maid he is not, so whatever I make has to fasten in the front so I can dress myself.
Anticipated garment needs:
A shift/chemise thinger, obvs.
Stays. Possibly short, possibly long, probably quilted rather than boned because I have cotton wadding and I don’t have any boning.
Maybe a butt pad? Hilary seems to be pro-pad so it’s probably the right call.
Stockings. Silk ones and wool ones, both embroidered of course.
Garters.
Shoes. To be purchased unless I can find pre-made soles to which I can attach silk uppers with more ridiculous embroidery.
A petticoat, which is apparently the new and sexy term for the underfrock layer of the outfit but which depending on style may be visible to varying degrees.
A gown, which is the overfrock. Probably at least a couple of petticoats and gowns if I’m honest because who doesn’t want at least ONE silk frock with ridiculous embroidery on it?
Some sort of hat, yet to be determined.
Maybe tie-on pockets depending on whether or not I end up rigging pockets into the frocks proper.
Bags, fans, shawls, gloves, muffs, outerwear etc. maybe someday but not immediately required.
More on this ridiculous business as it unfolds. First, though, I’ve got stupid amounts of damp cotton muslin to iron…
Approximately one million years ago I was chatting with Boss Laurel about the notion of the capsule wardrobe in the context of the SCA, largely inspired by two things.
Thing the first – the average person living before 1600 in Europe just didn’t have that much clothing, and what they had was deeply valued and valuable. You can get a sense of this reading wills, where people went to the trouble of listing out every garment they had in order of condition/quality and designating a recipient for each one.
Thing the second – I am both really lazy and really unwilling to devote space in my home to storing stuff I don’t use regularly. In other words, I don’t like putting in hundreds of hours making clothing that I’m only going to wear for a couple of weekends a year and then have to find space for all the rest of the time.
Also, I don’t drive. Everything I take with me to events has to be something I can manage by myself on public transportation. I have to be able to lift it easily and manoeuvre it onto and off trains, through crowds, in narrow spaces, up hills, over rough terrain… You get the idea. I get really frustrated by the notion that doing the SCA “right” involves investing in ever more stuff.
And thus the capsule wardrobe experiment. I wanted to figure out the minimum amount of stuff required to have a comfortable and satisfactory experience at a ten-day camping event (the longest event in my region). I wanted it to be as lightweight as possible and to pack down as small as possible, but I also wanted to embrace the medieval as much as possible.
Cue the beginning of my love affair with MS. Bodl. 264, the Romance of Alexander.
(Hereafter you will see things like “75R” dotted through the text. These are manuscript page references – 75 means the 75th leaf (or sheet of parchment) in the manscript, and R/V mean respectively recto and verso, or the front and back of the leaf.)
The first part of this manuscript was finished by 1338, with the illuminations completed by 1344. It’s absolutely riddled with images of ordinary people doing ordinary things, mostly in the margins. (It’s also got some great little details like something that sure looks like a hot tub!75R) The clothing depicted is a step away from the super-fitted laced kirtles one sees in re-enactment circles all the time: basically, in this manuscript people wear sacks. I am 100% in favour of comfy sack frocks. They are easy to make and fit nicely even if one’s weight fluctuates.
The biggest thing for me was being able to fit everything into a period container. I ended up getting a pack basket from one of the vendors at TORM – it looks close enough to this jobbie in the manuscript that I was happy. I did make one concession with the basket and sewed a lining for it out of some brown linen I had in my stash. The inside of the wicker is a bit pokey and I didn’t want to snag my lovely clothing!
Stuff that went into the basket:
three overfrocks, two with sleeves and tippets and one stripey and sideless (56R grey over red; 59R fur tippets)
two underfrocks
five each of linen short shifts and linen veils
four pairs of woolen hose
a strip of inkle braid that functions as a bust support band
one pair of shoes
one pair of ankle boots
two pairs of garters
a bunch of veil pins (two pairs, probably? I honestly don’t remember how many I took. It’s been five years.)
a pouch full of hair pins (yes, I should tape my braids instead of using modern pins. I don’t. I am a slacker.)
one linen apron (3r)
a comb
a tablet-woven belt
a belt pouch
a cloak (not shown because I can’t currently find it)
But wait! That’s just the medieval clothing! Also in the basket:
knickers and sanitary towels, because is it even a camping event if one isn’t menstruating during it?
baby wipes
a cup (placeholder cup shown because I can’t remember which of my many, many cups I took with that year)
a bowl
a spoon
a sharp eating knife
my quiver (containing my archery belt, bracer, tab, strapping tape, string wax, and stringer)
toothbrush, toothpaste, deodorant, sunscreen
a flatpack-able stool
LED candles (not shown because apparently all of ours have died and we never bought new ones)
a small first aid kit (not shown because we used up the contents and threw out the ratty bag)
two wool blankets, two sheepskins, and a rug (this is my bedding)
hot water bottle
pyjamas and bed socks
fleece hat for overnight warmth
spindle and spinning fiber
a cache of spices for some of the food planned for the ten days
various bits of paperwork
phone, charging cable, powerbank battery
keys, train tickets
Stuff that didn’t go into the basket:
my bow and arrows (too big, obvs.,so I carried them separately in the bow case)
the bag of train snacks (we ate these en route)
the tent, my camping bed, and our camp lanterns (the Spouse hauled these, since I was hauling all of his archery equipment)
food other than the spices (we had it delivered to the site so that no-one had to haul it)
shampoo (because I went for 10 days without washing my hair. It felt good to wash it when I got home at the end, but it wasn’t particularly icky thanks to having had it pinned and wrapped up the whole time.)
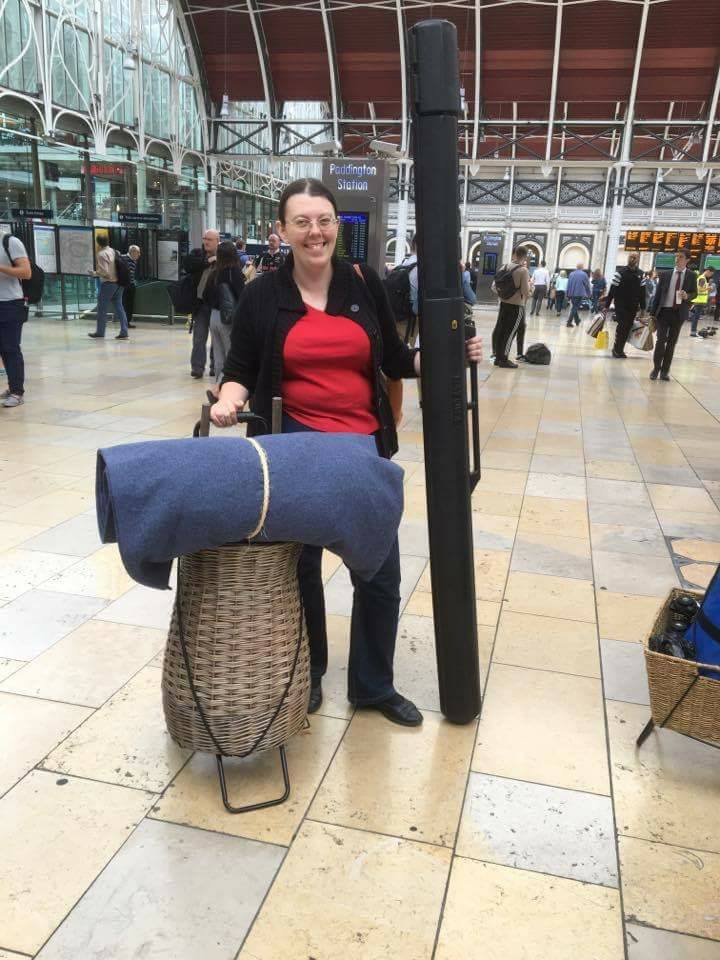
It ended up working surprisingly well, with a few unexpected bumps. The biggest problem was that once I’d loaded everything into the basket, I couldn’t carry it. I could lift the weight of it, but I have problems with my shoulders and the rope straps were hurting me. So, everything stayed in the basket as planned and I just loaded the whole thing onto a folding wheelie trolley.
At Paddington Station with all the gear!
The basket was also a bit of a nuisance to store inside the tent, and I couldn’t leave it outside for fear of it moulding. Even in summer it is very wet in the British Isles!
The basket and all its contents.
The real question of course was, “Was it the right amount of stuff for the event?” And actually? Yes. With five complete sets of body linens (the shifts, veils, and hose) I was able to have a fresh set every other day; in conjunction with a twice-daily wash I felt plenty clean. If I had gotten particularly sweaty I would have been able to wash a set and have it dry by the end of the event. An additional pair of shoes would have been helpful, as there were a couple of days where both my shoes and my boots got waterlogged and I had to run around barefoot while they dried out. Or I could have gotten around to making/buying a set of pattens.
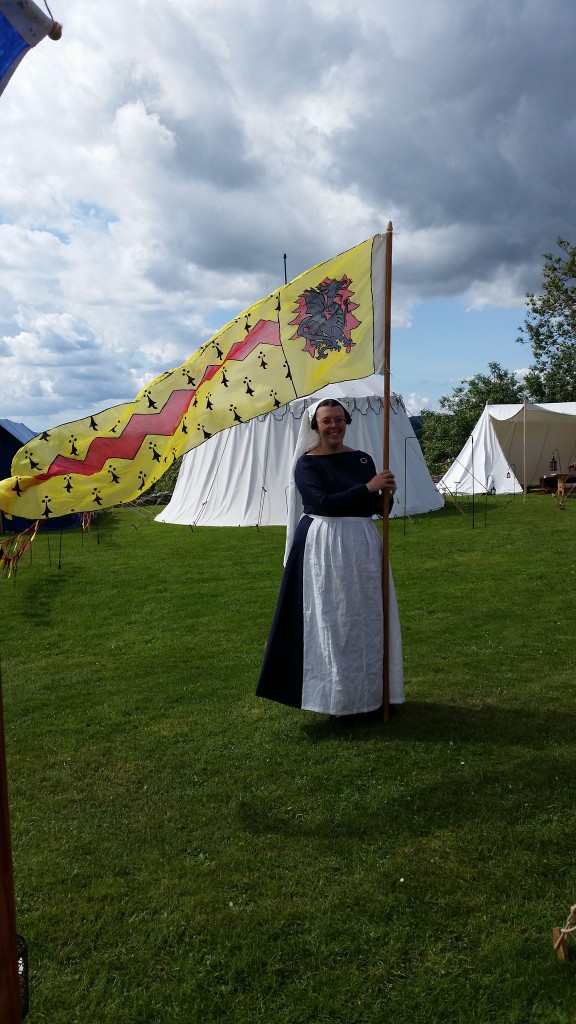
The blue dress and apron combo! Photo taken by Tom McKinnell and used with permission.
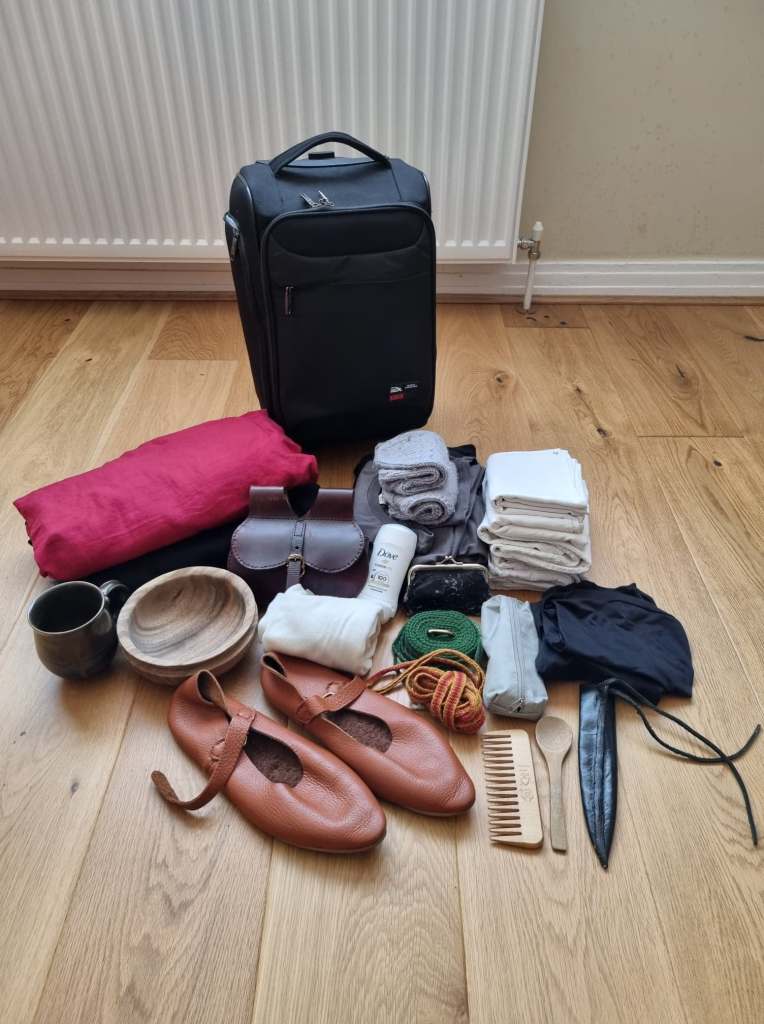
The truly astonishing thing is just how little room all of this stuff takes up. The month before this project was completed I went to another ten-day event, but this one was in Finland. It ended up serving as a dry run, since I didn’t have to worry about bringing any bedding. And it turned out that I was able to get almost every scrap of the list above into a Norwegian Air-approved carry-on bag! (The longbow case was my checked bag and was where I stashed all my cutlery, since one isn’t allowed to bring sharp objects into the plane cabin.) If I had borrowed cutlery and skipped the archery equipment, I could have done the entire ten days with just the contents of my carry-on.
And since I had everything out to photograph it again, I thought I’d see just how much I could squeeze into the much smaller Ryanair-approved cabin bag.
The weekend version of the capsule.
Contents of the cabin bag:
one overfrock
one underfrock
two short shifts and the bust support band
two veils
pouch of veil pins and hairpins
one pair of woollen hose
pyjamas and bedsocks
one pair of shoes
tabletwoven belt
belt pouch
one pair of garters
knickers
toiletries bag and deodorant
comb
spoon
knife (NB this is removed if I’m actually flying with this kit)
bowl
cup
If I’m not flying Ryanair but for some reason am choosing to use this little case instead of my normal cabin bag, I actually pack even more stuff into the external pockets. However, the extra bulk would make the case too large for Ryanair.
And now, much to my delight, I may never need to make another piece of garb ever again!
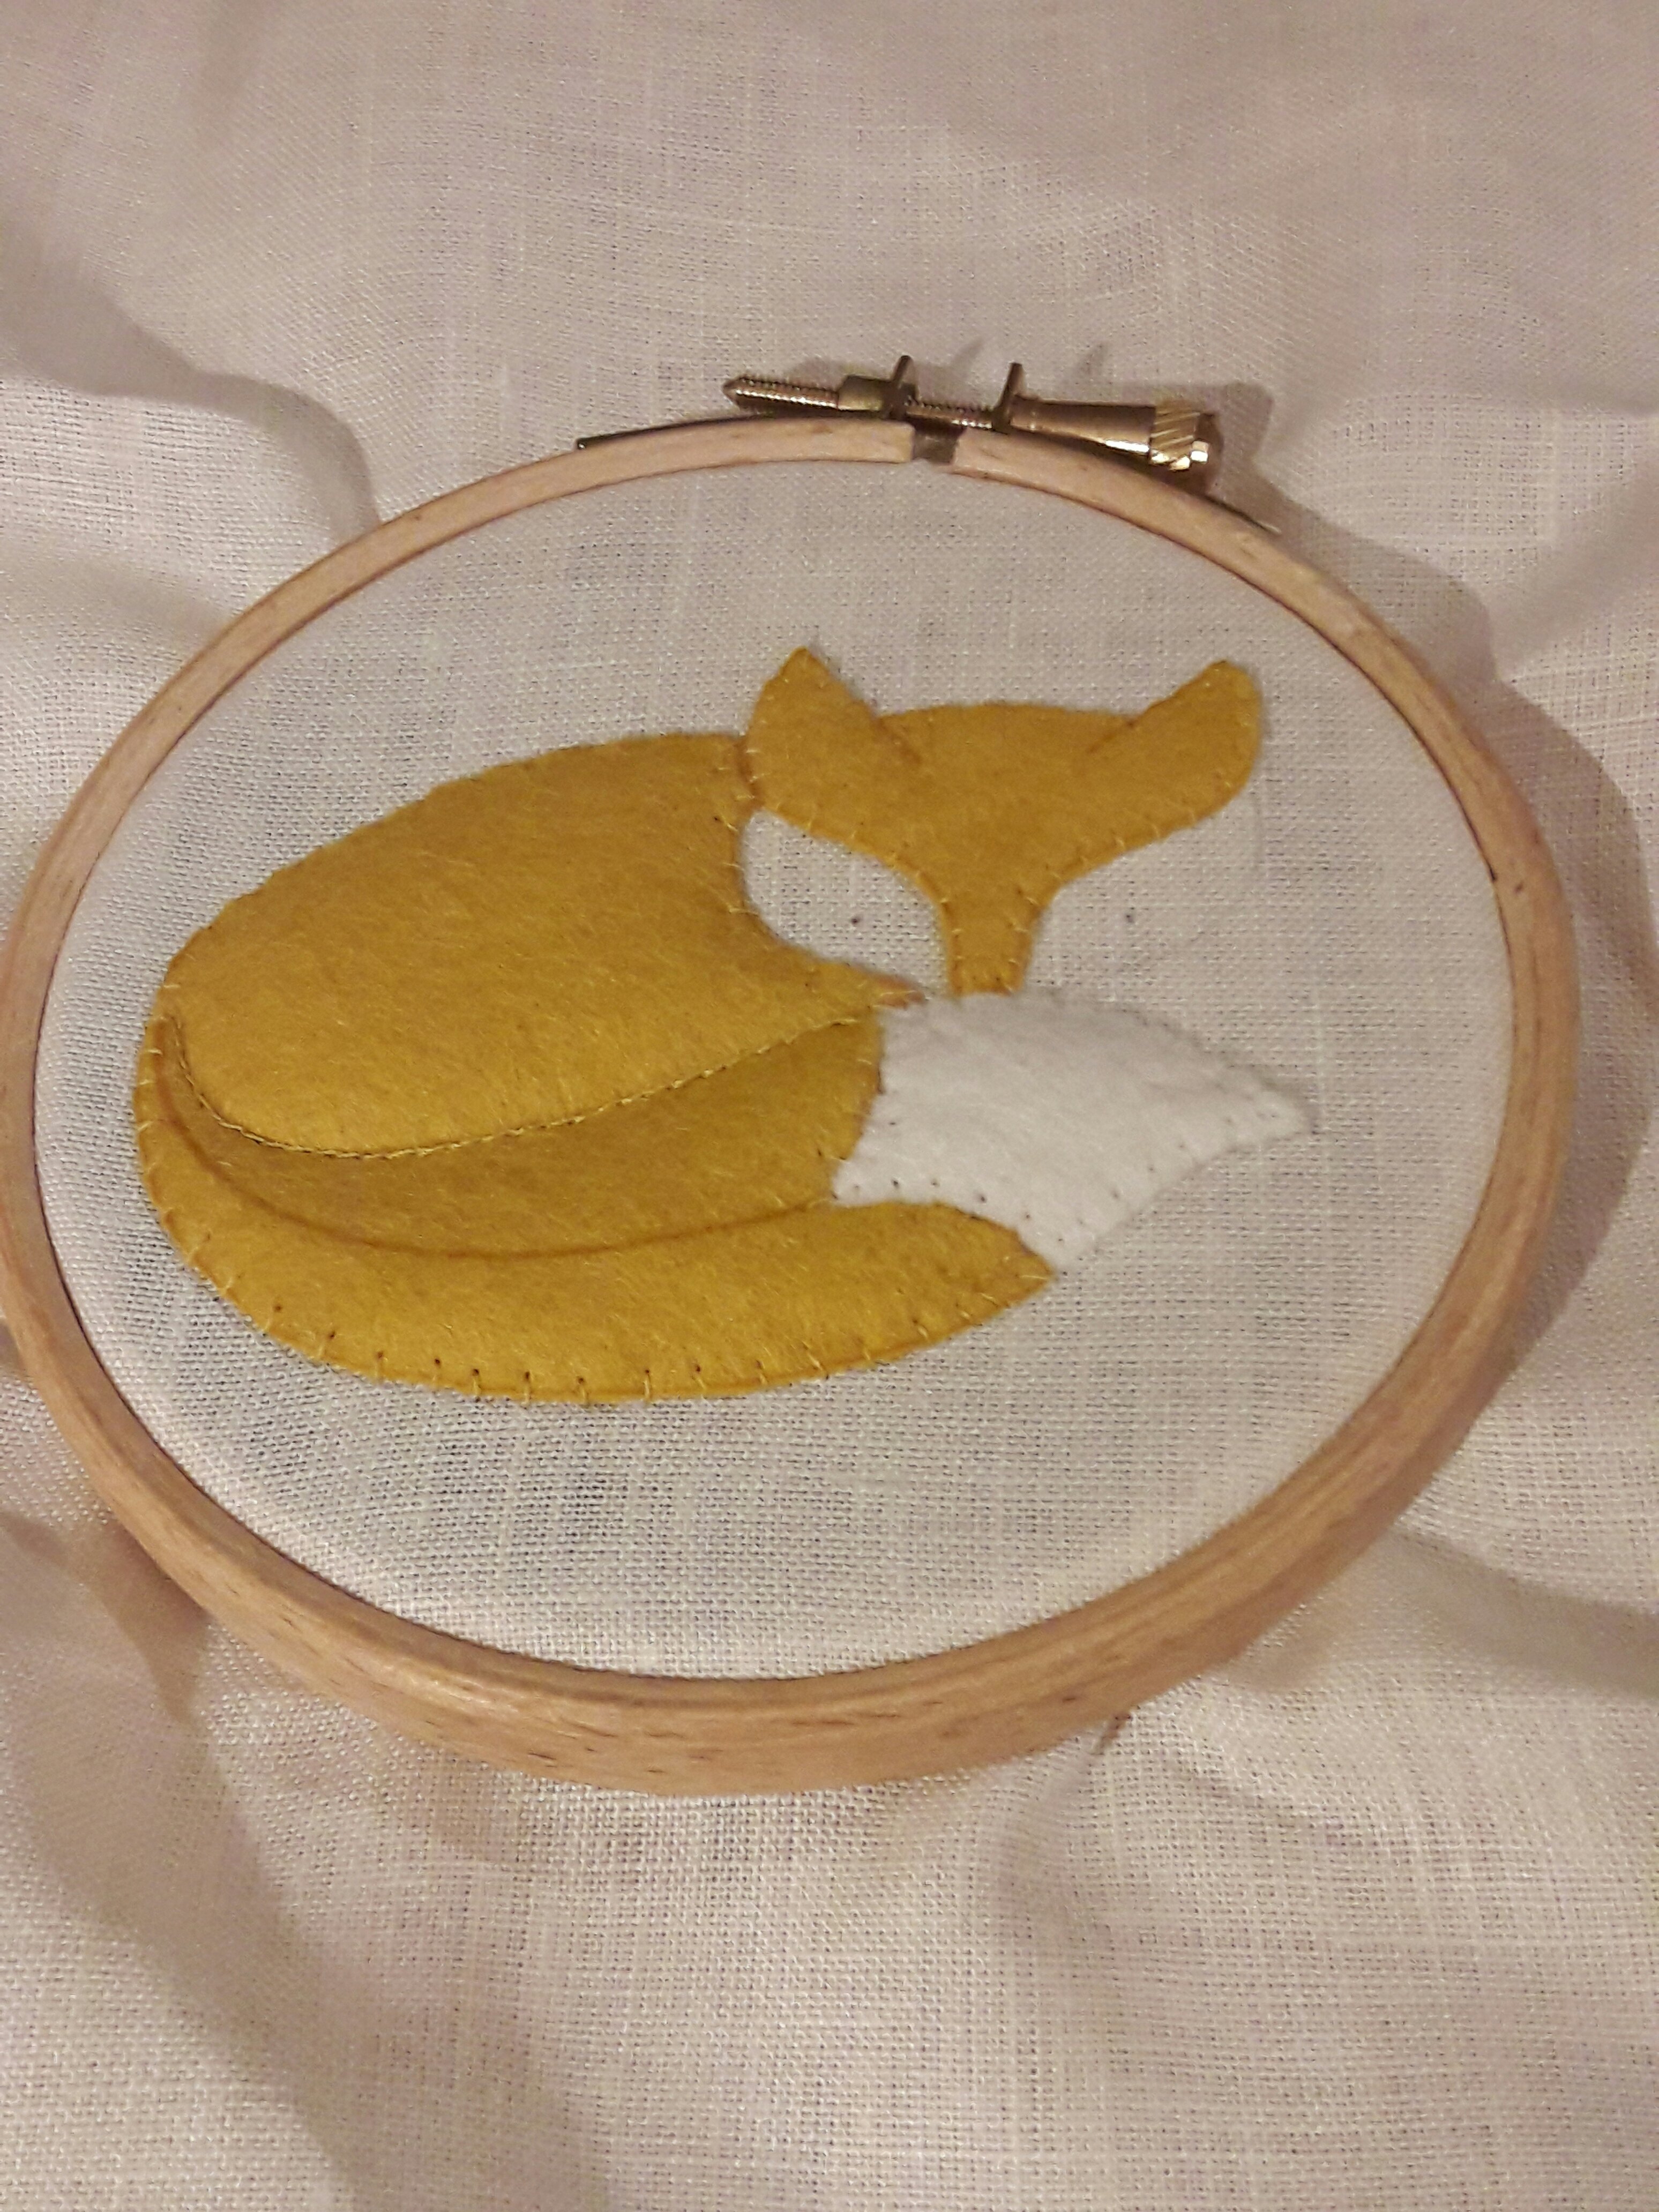
The one kind of embroidery I’ve always been afraid to try is goldwork. Metal doesn’t hold up well to being ripped if you mess up, there are a lot of different sorts of metal to work with, and they’re pretty expensive. I’ve bought a couple of kits over the years, but they’ve never made it out of the stash.
Until now.
See, last November I was at an SCA event where a lady was elevated to the Order of the Laurel, largely for her goldwork. And at her vigil she made me promise to have a go at it before that event came around this year.
So, here you go, Mistress P. One goldwork project in progress, as promised.
First layer of felt padding:
Second layer of felt padding:
All the felt sewndown:
First section of gold passing couched down with the ends plunged:
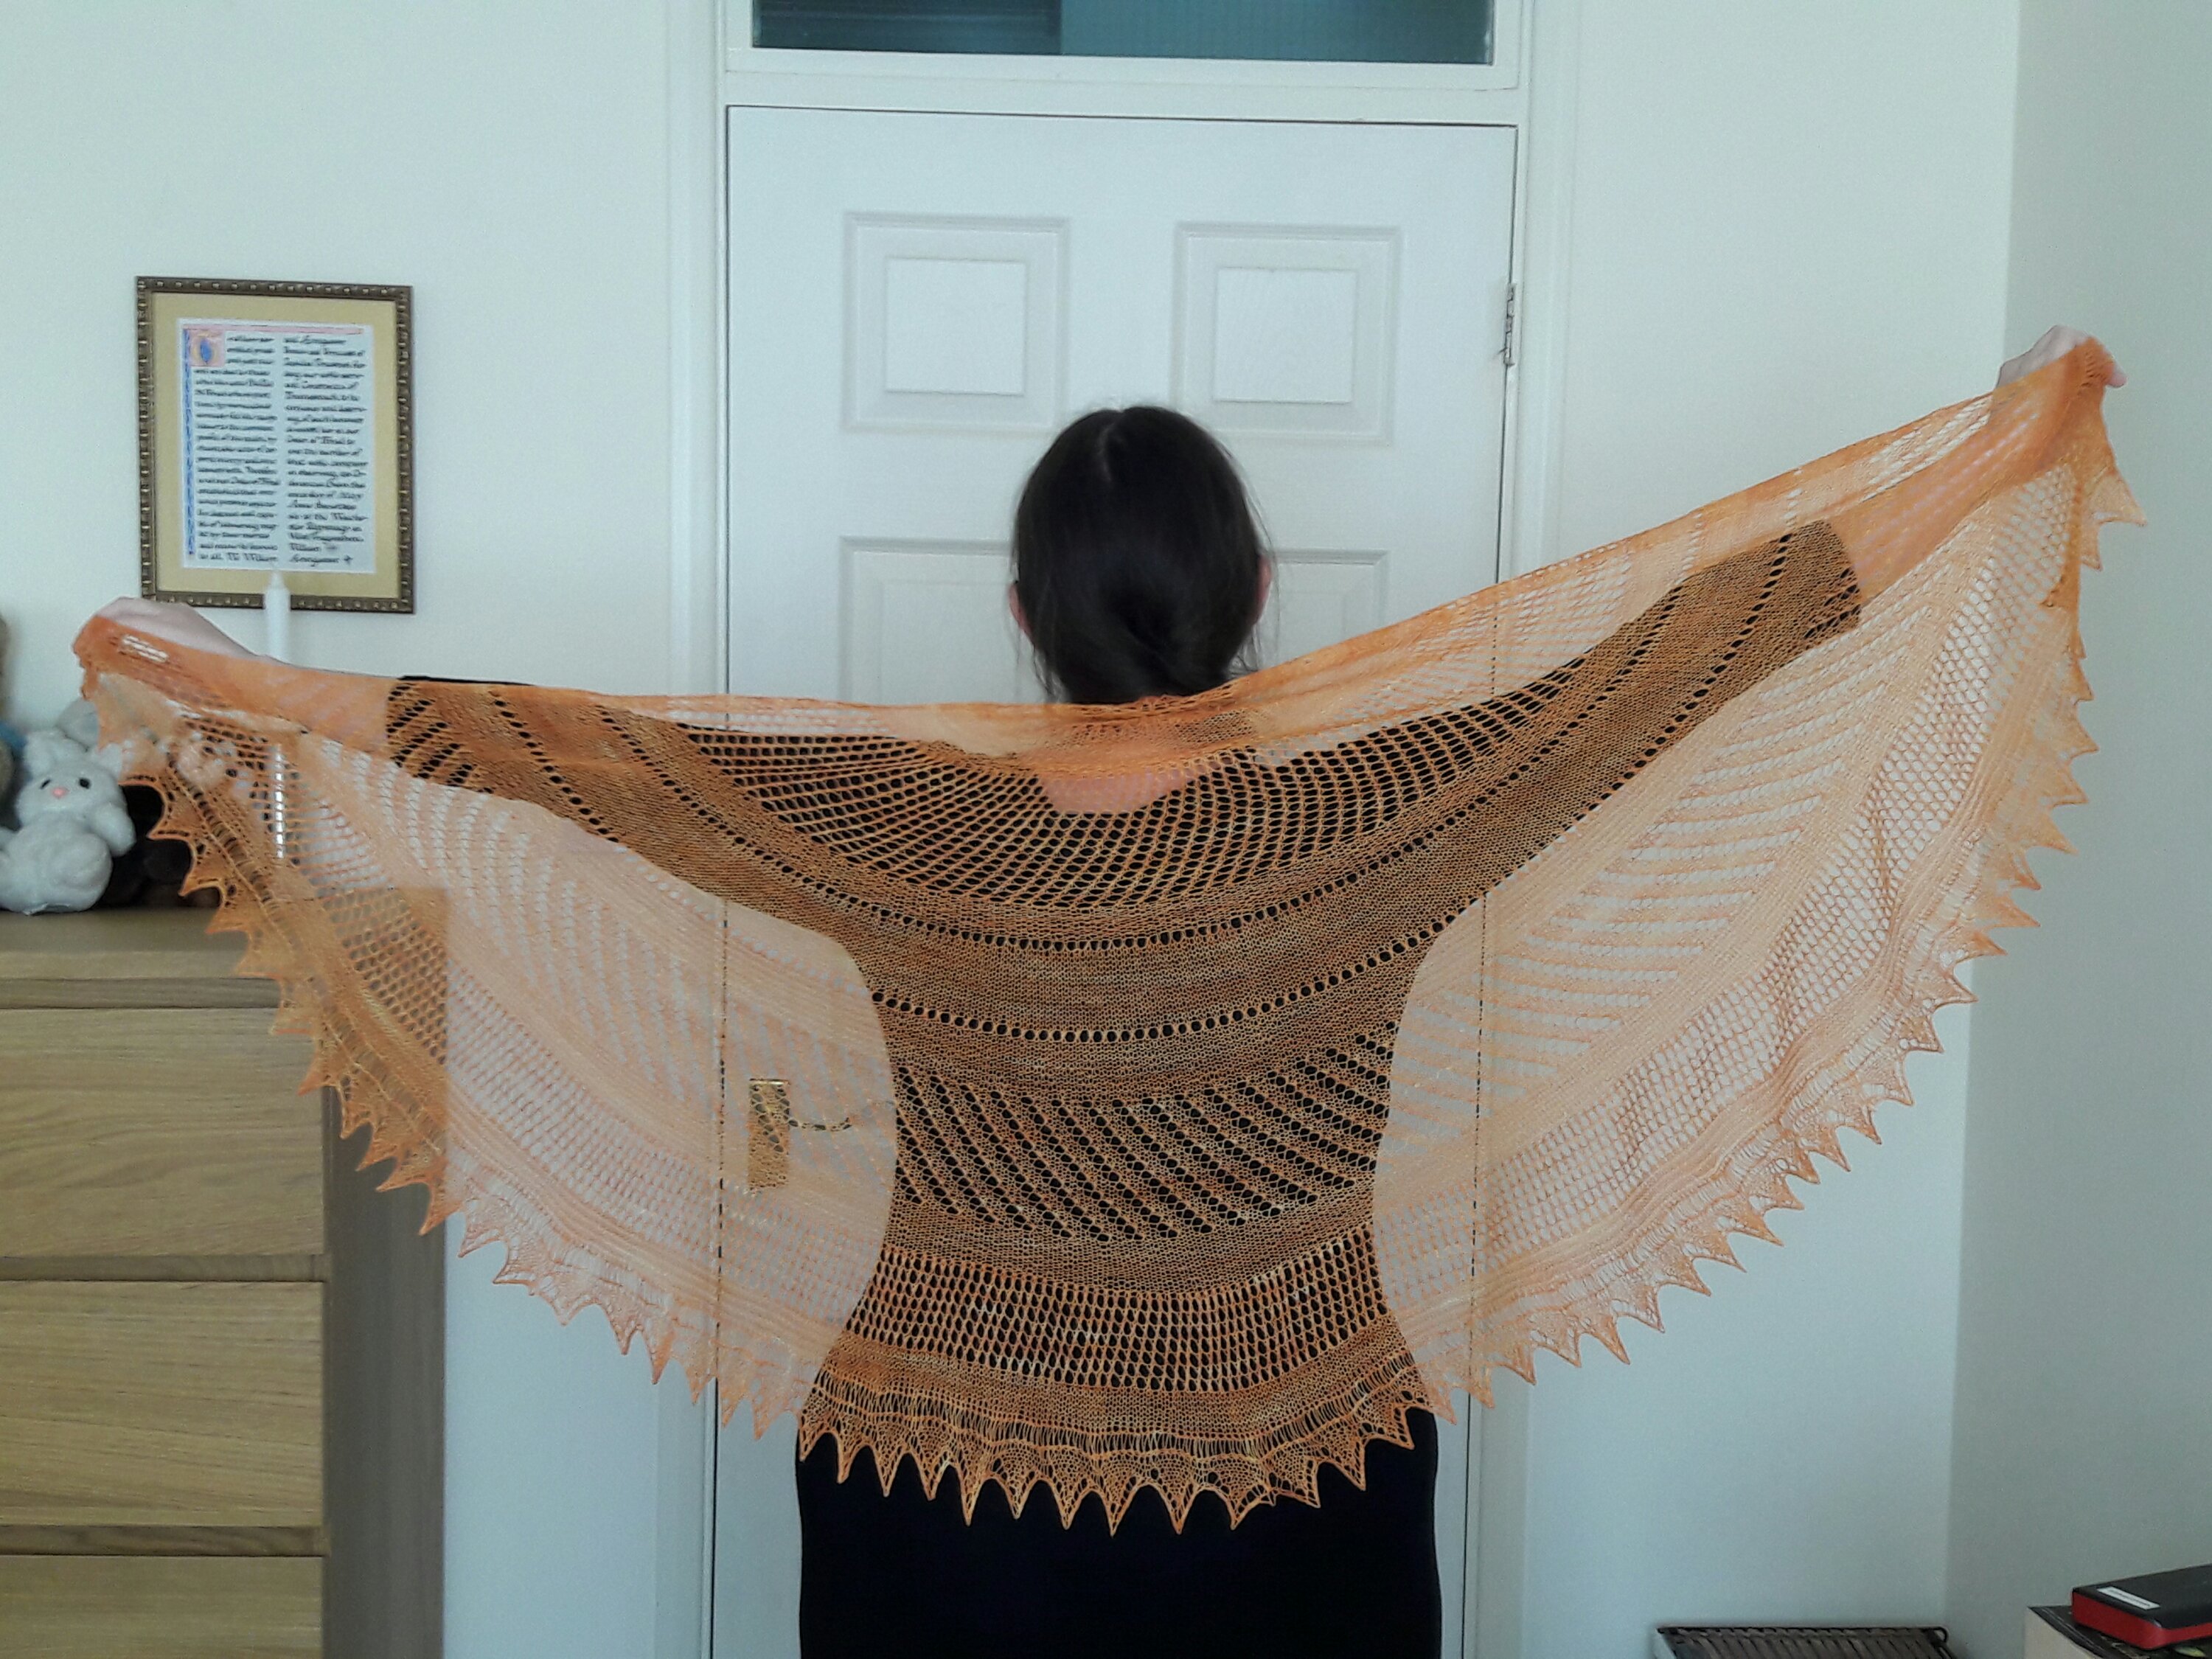
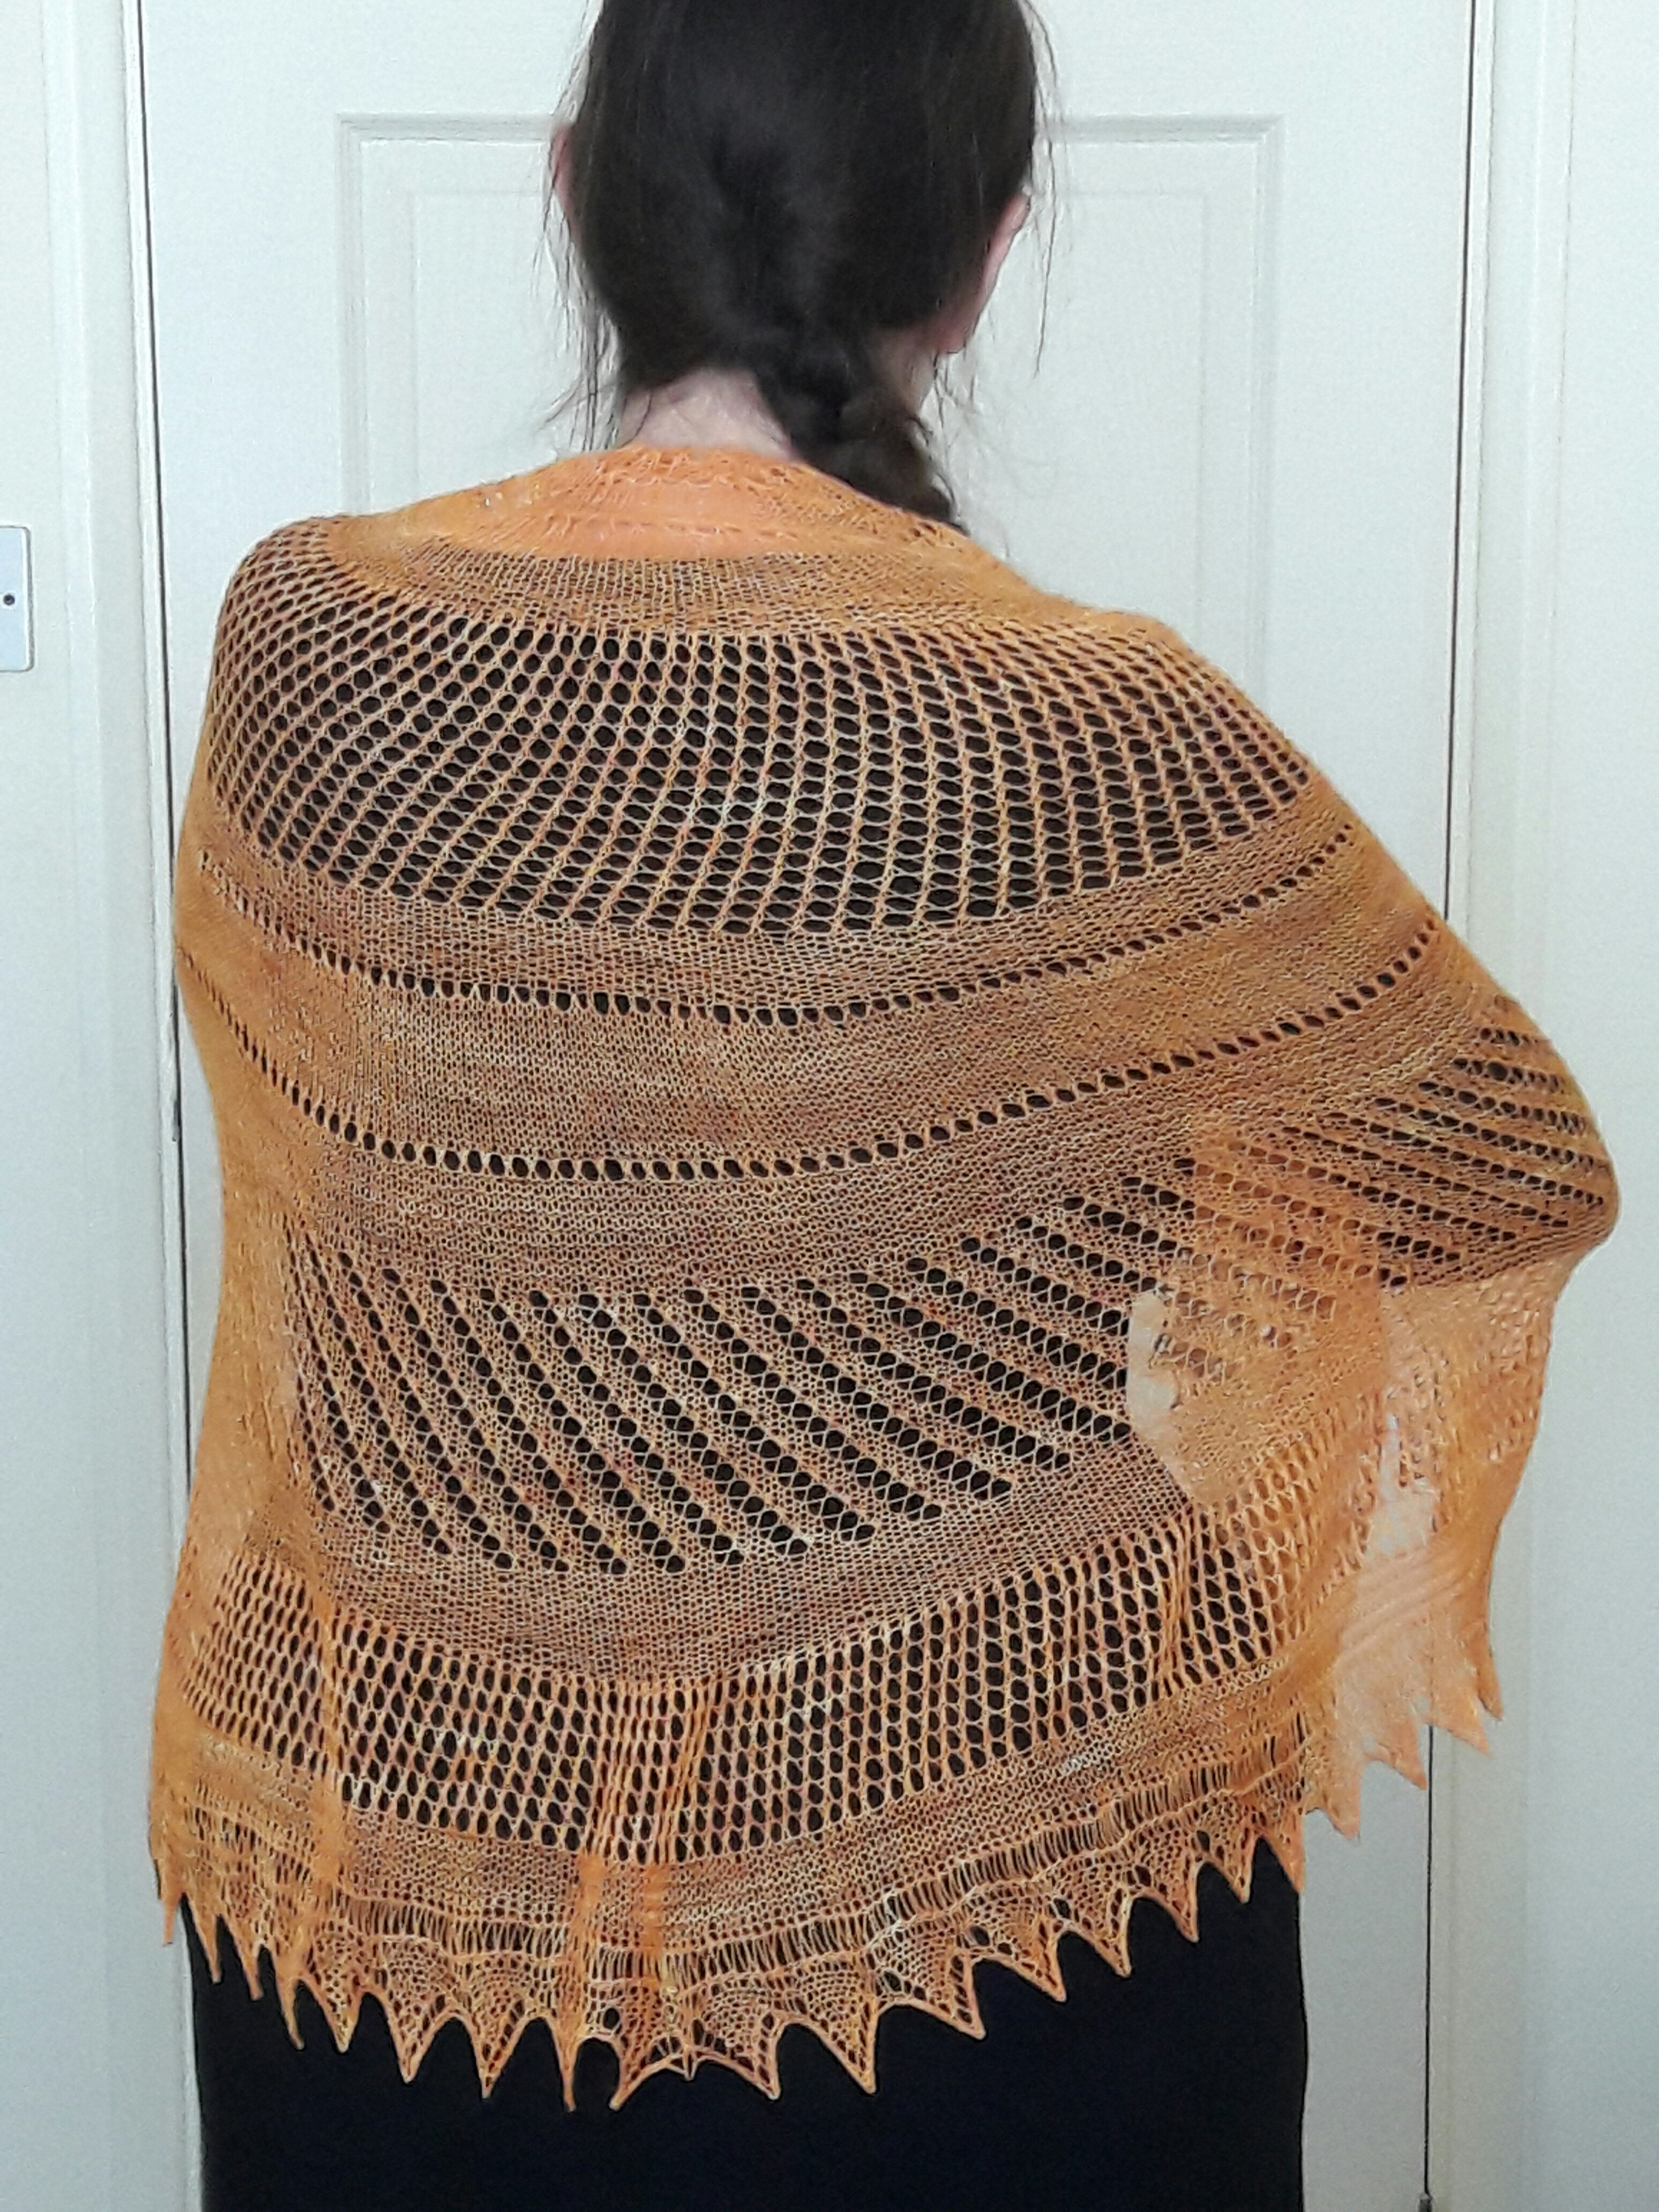
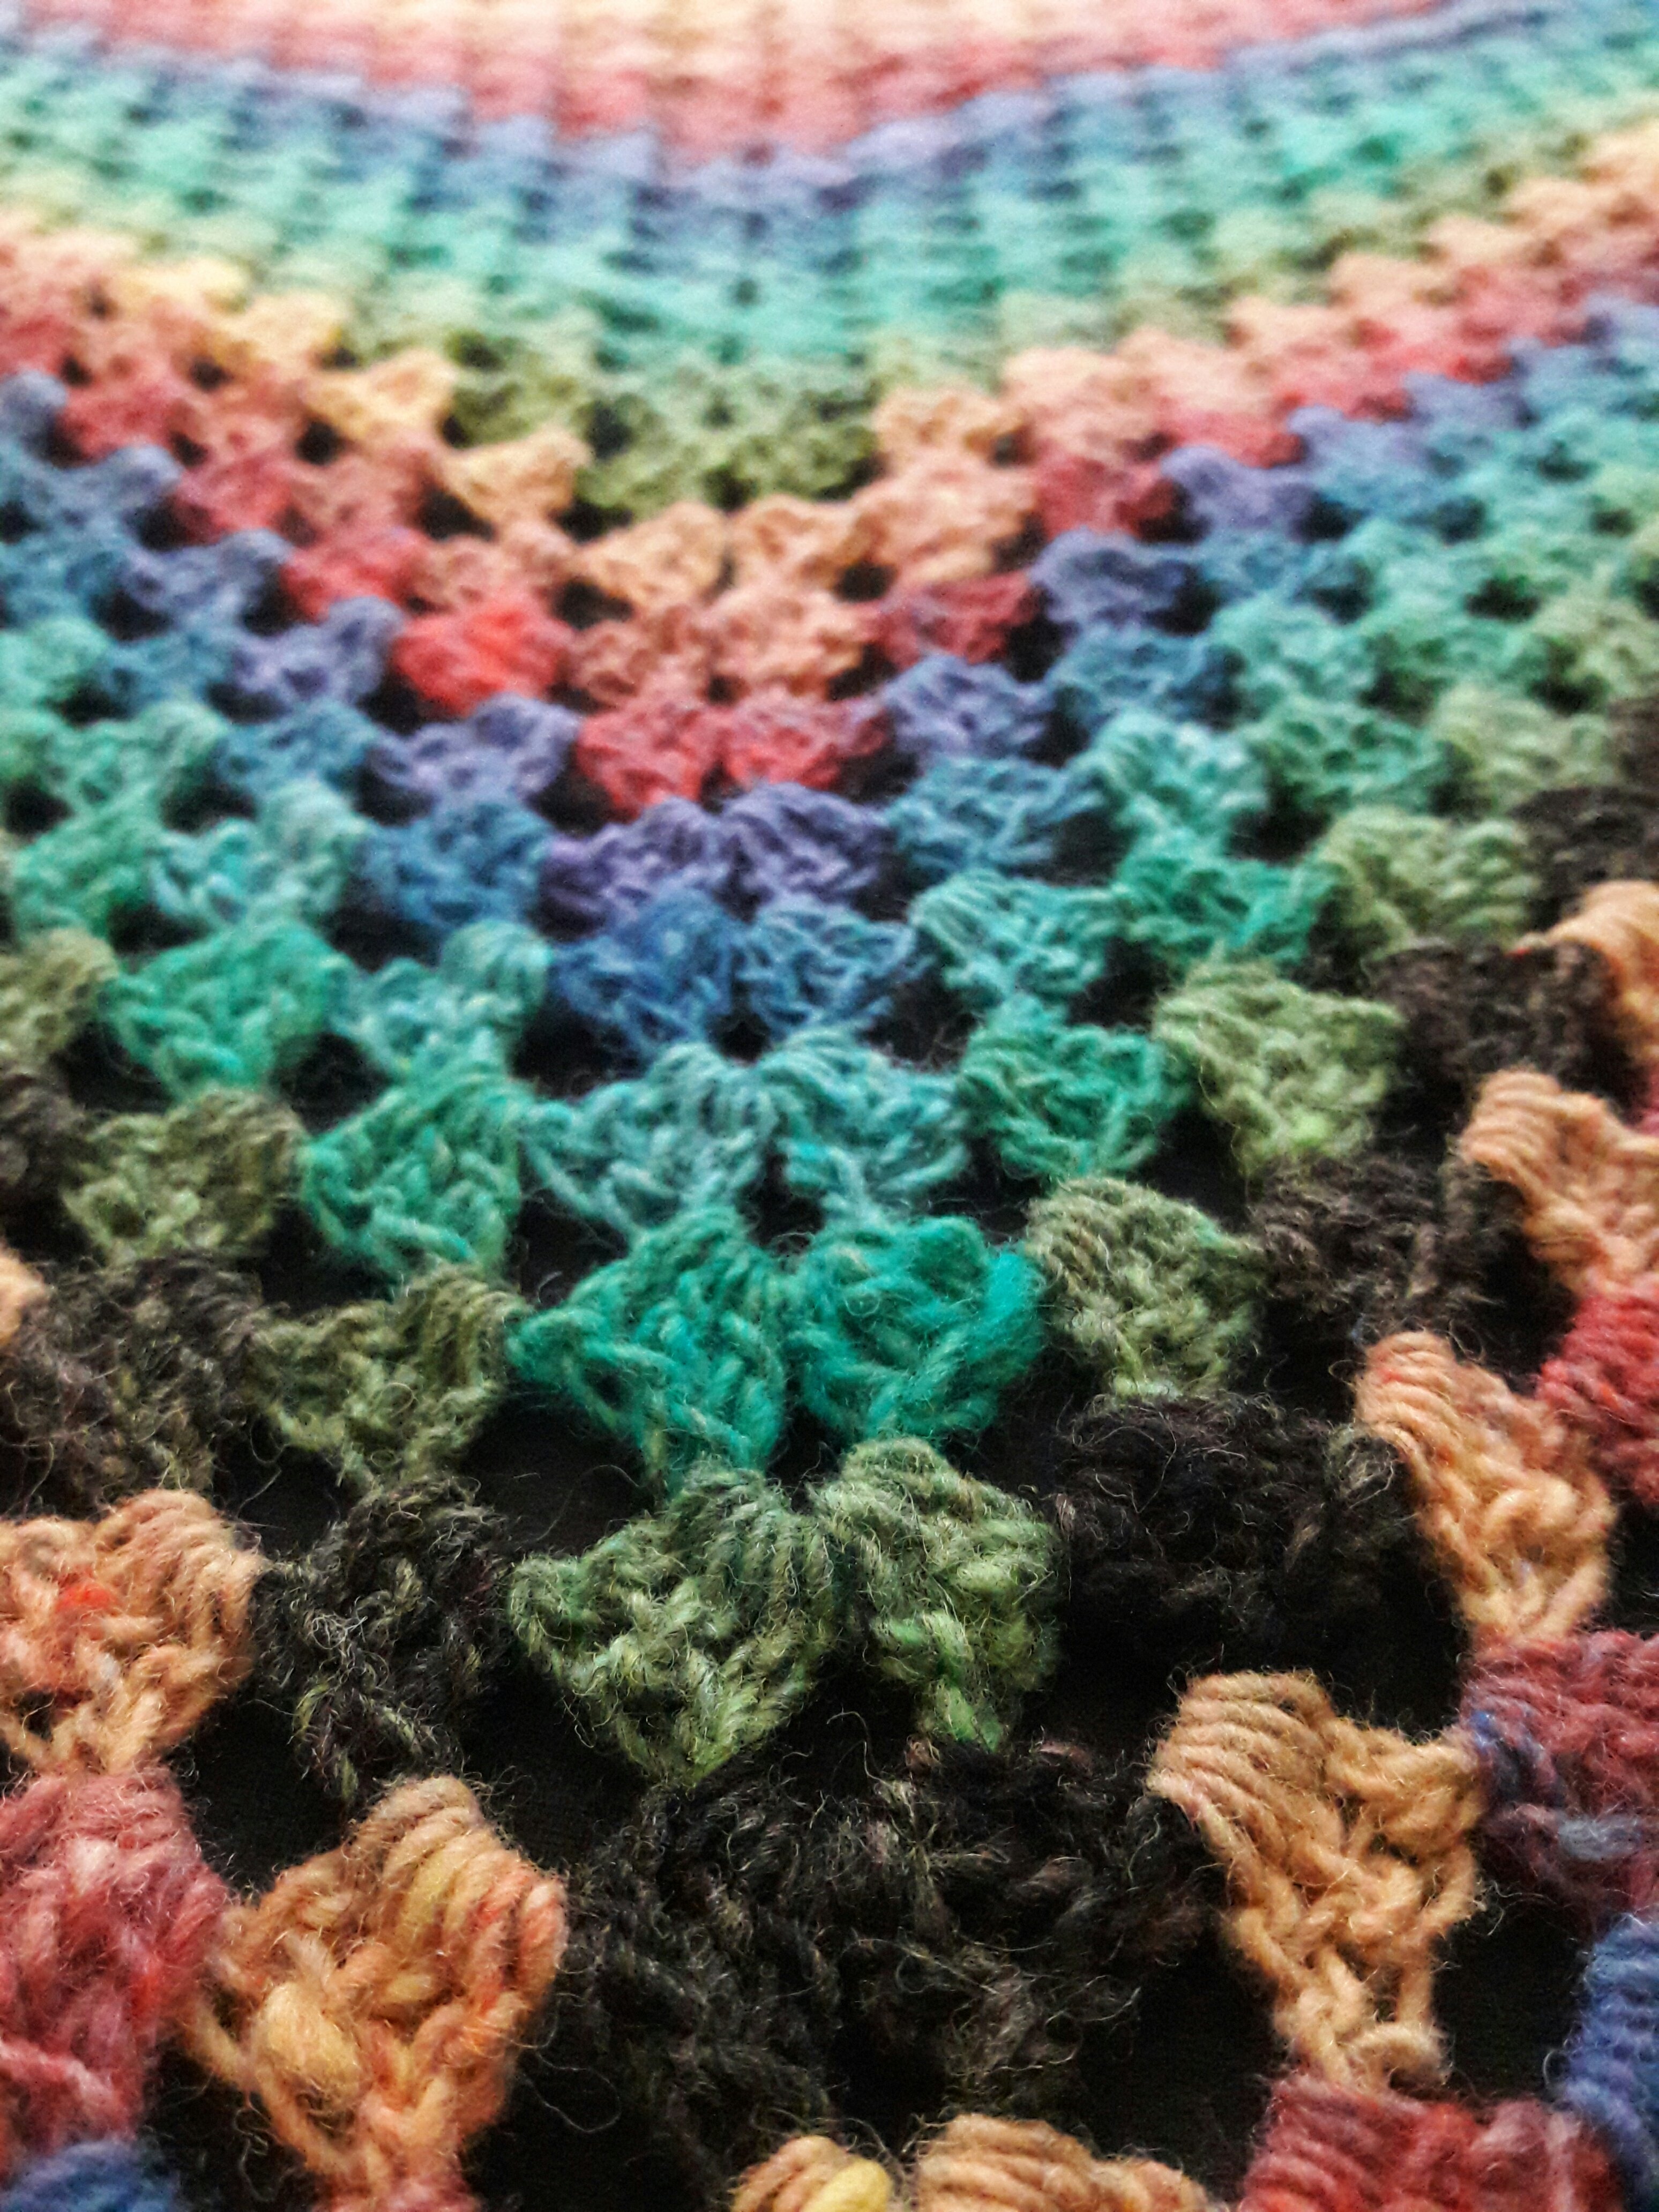
A very long time ago I decided that I was going to knit a shawl that I could wear at Midwinter, in the depths of cold and dark and ice, that would cheer me up and serve as a reminder that the sun would come back. A shawl that looked like the sun in all its glory.
I have finally finished it, on the hottest day of the year so far. Who knows, maybe it will soak up some of that warmth and store it for me for December?
Pattern: Radiance, with the edging from the Aestlight Shawl instead of the ruffle originally written in the pattern.
Yarn: Posh Yarn Miranda Cobweb (discontinued), colourway Shining Hour
Needles: 3.5mm circular Addi Turbo with a generic 3.5mm DPN I swiped from my grandmother to knit the edging on. (You don’t actually NEED a DPN to knit on an edging, but I find it less fiddly than using the other end of the circular needle.)
Pattern mods: In addition to swapping out the ruffle (which I did by just not working the increases on the last increase row), I added a plain knit row to the end so that the right side of the edging would be on the right side of the shawl.
I can’t say enough good things about the pattern. It’s very well written, to the extent that it comes in three versions: high detail for inexperienced knitters, low detail for people who just need the basics, and a checklist version for people like me who would rather make tick marks than count rows. The names of the colourway and patterns were a happy accident, but I think it turned out pretty well like a winter sunrise in yarn form. The trouble is, of course, that now I’ve got a song stuck in my head.
For the most part, the clothing I wear at SCA events tends to lots of layers, a great deal of wool, and all kinds of veils and hats. This is because I live in the UK and it’s bloody cold most of the time, even in summer.
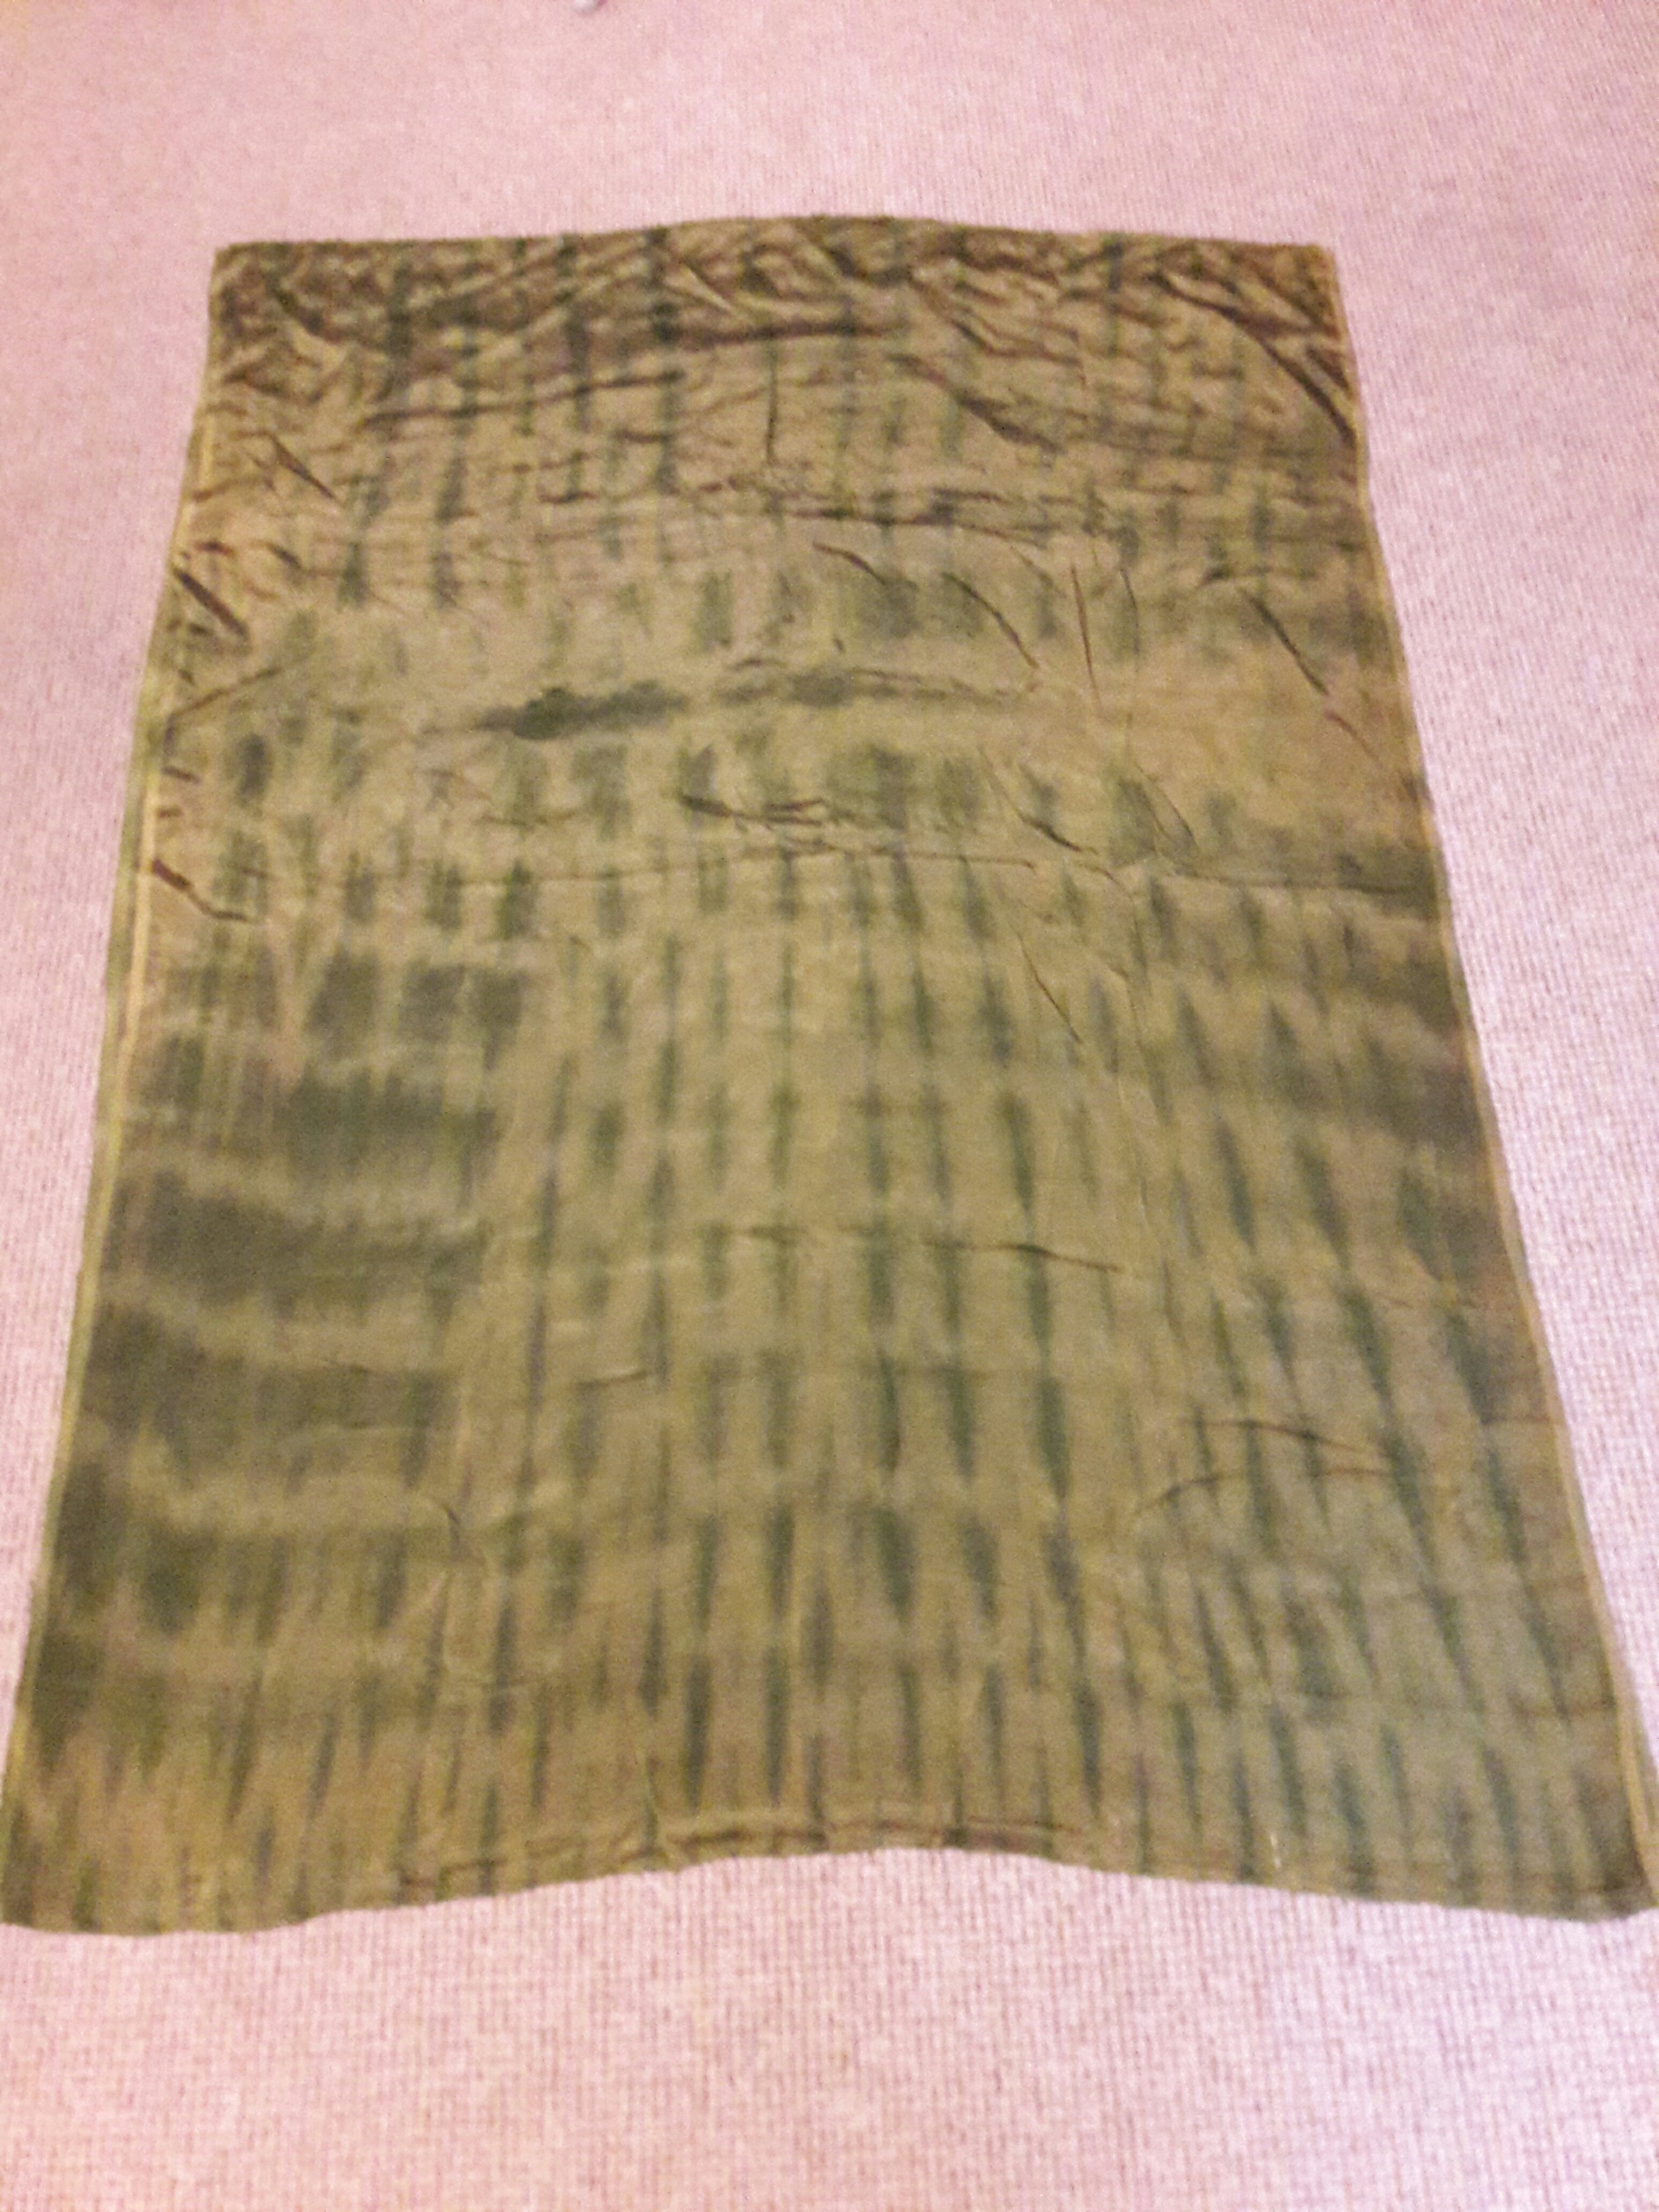
However, I do on occasion travel to events in parts of the Kingdom that are decidedly hotter, and it’s high time I had some clothing that’s suitable for highs of 40C rather than 25C. To that end, a quick and dirty Roman gap-sleeved tunic.
This is not high-level research by any stretch of the imagination. I have acquired a copy of Croom’s Roman Clothing and Fashion and am working directly from her notes, with the desired end result of a piece of clothing I can wear in the summer and look acceptable when accessorized properly.
The tunic is nothing more than two very wide rectangles with seams most of the way up the sides and pins holding the shoulders together. (The pins are what create the gaps that give this style of tunic its name. No-one is entirely sure exactly how the pins work, since the sculptures and other artworks depicting this style just show round knobbly things at the places where the fabric is held together.)
As luck would have it, I had in my stash a couple of metres of this gorgeous dark green silk that was woven to a period width. (Modern fabric tends to be 60 inches wide. Historically, 45 inches or even narrower was much more common.) And not only was it the appropriate widths, it had selvedges that matched the rest of the fabric AND happened to be exactly the right length to drape to the floor properly. Bonus – I had matching silk thread.
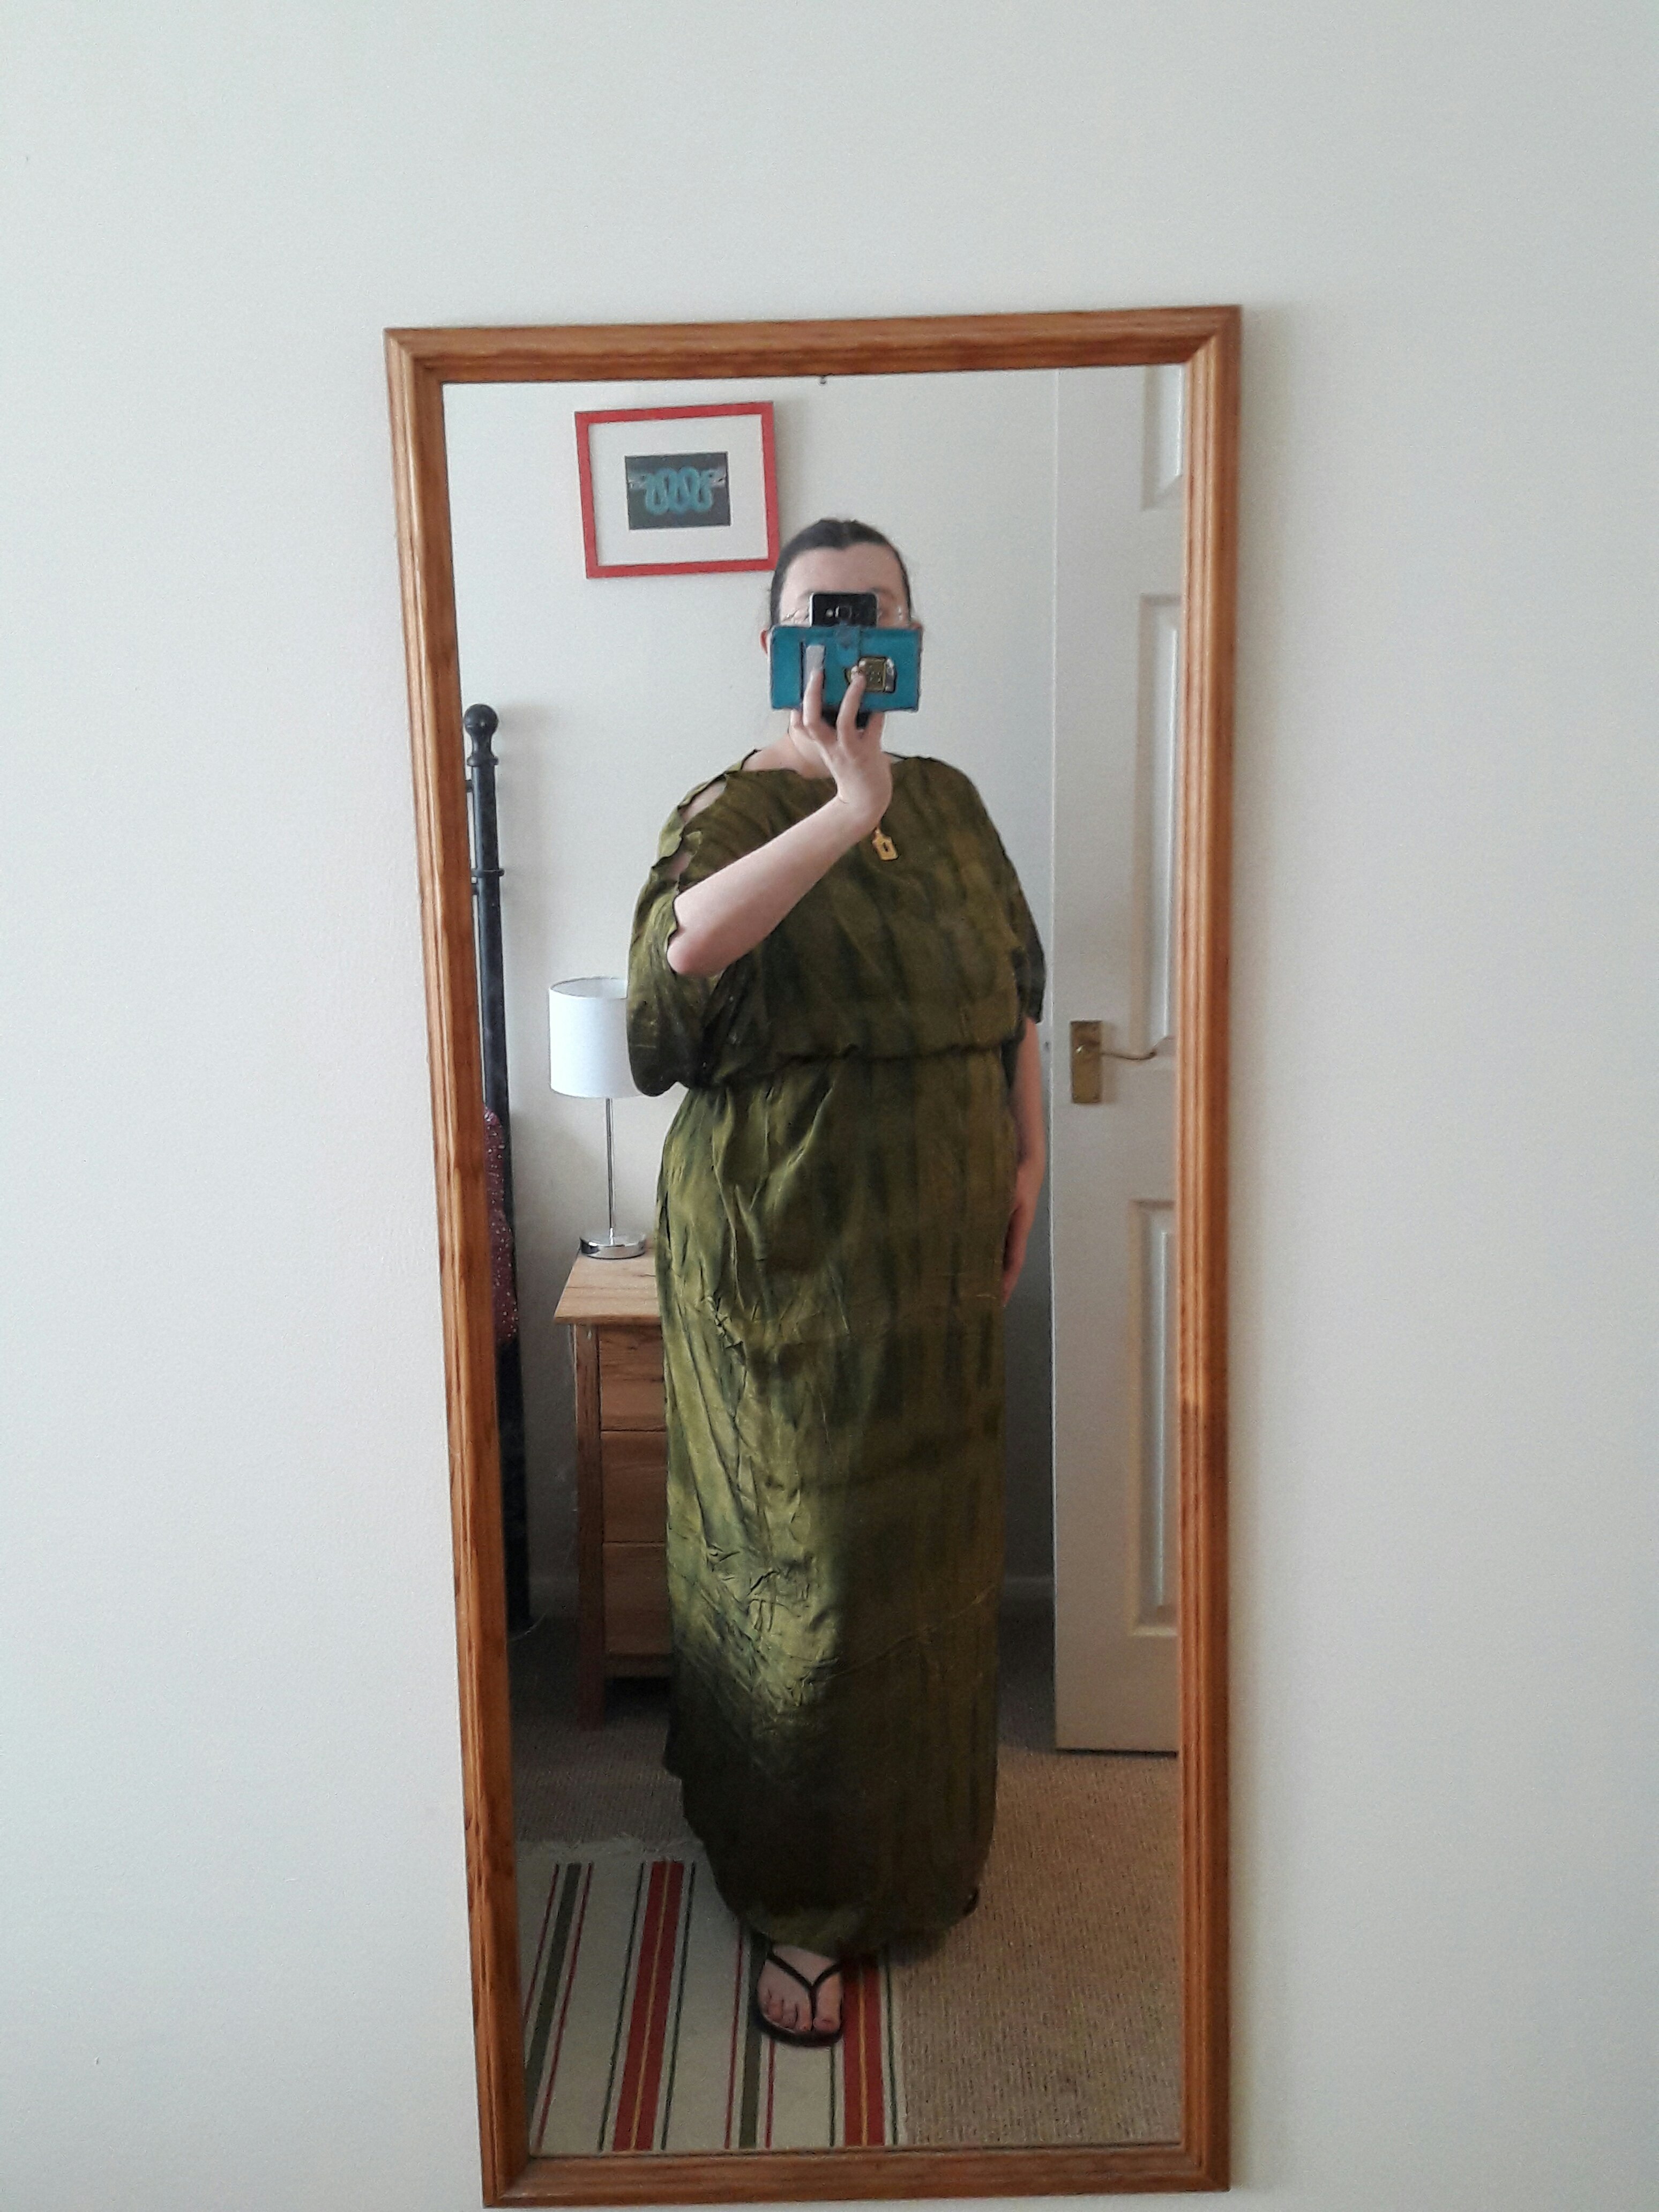
Forty-eight hours later, I have a new frock. And not long after that, a three and a half metre band of linen to go under it to corral my bosoms. (I’m wearing the linen in the photo below, but no photos of just the linen. There are limits to what I’ll post online.)
It needs a twisted cord to serve as a belt/girdle. At the moment I’ve just got it tied up with the band of inkle-weaving I use underneath my fourteenth-century stuff.
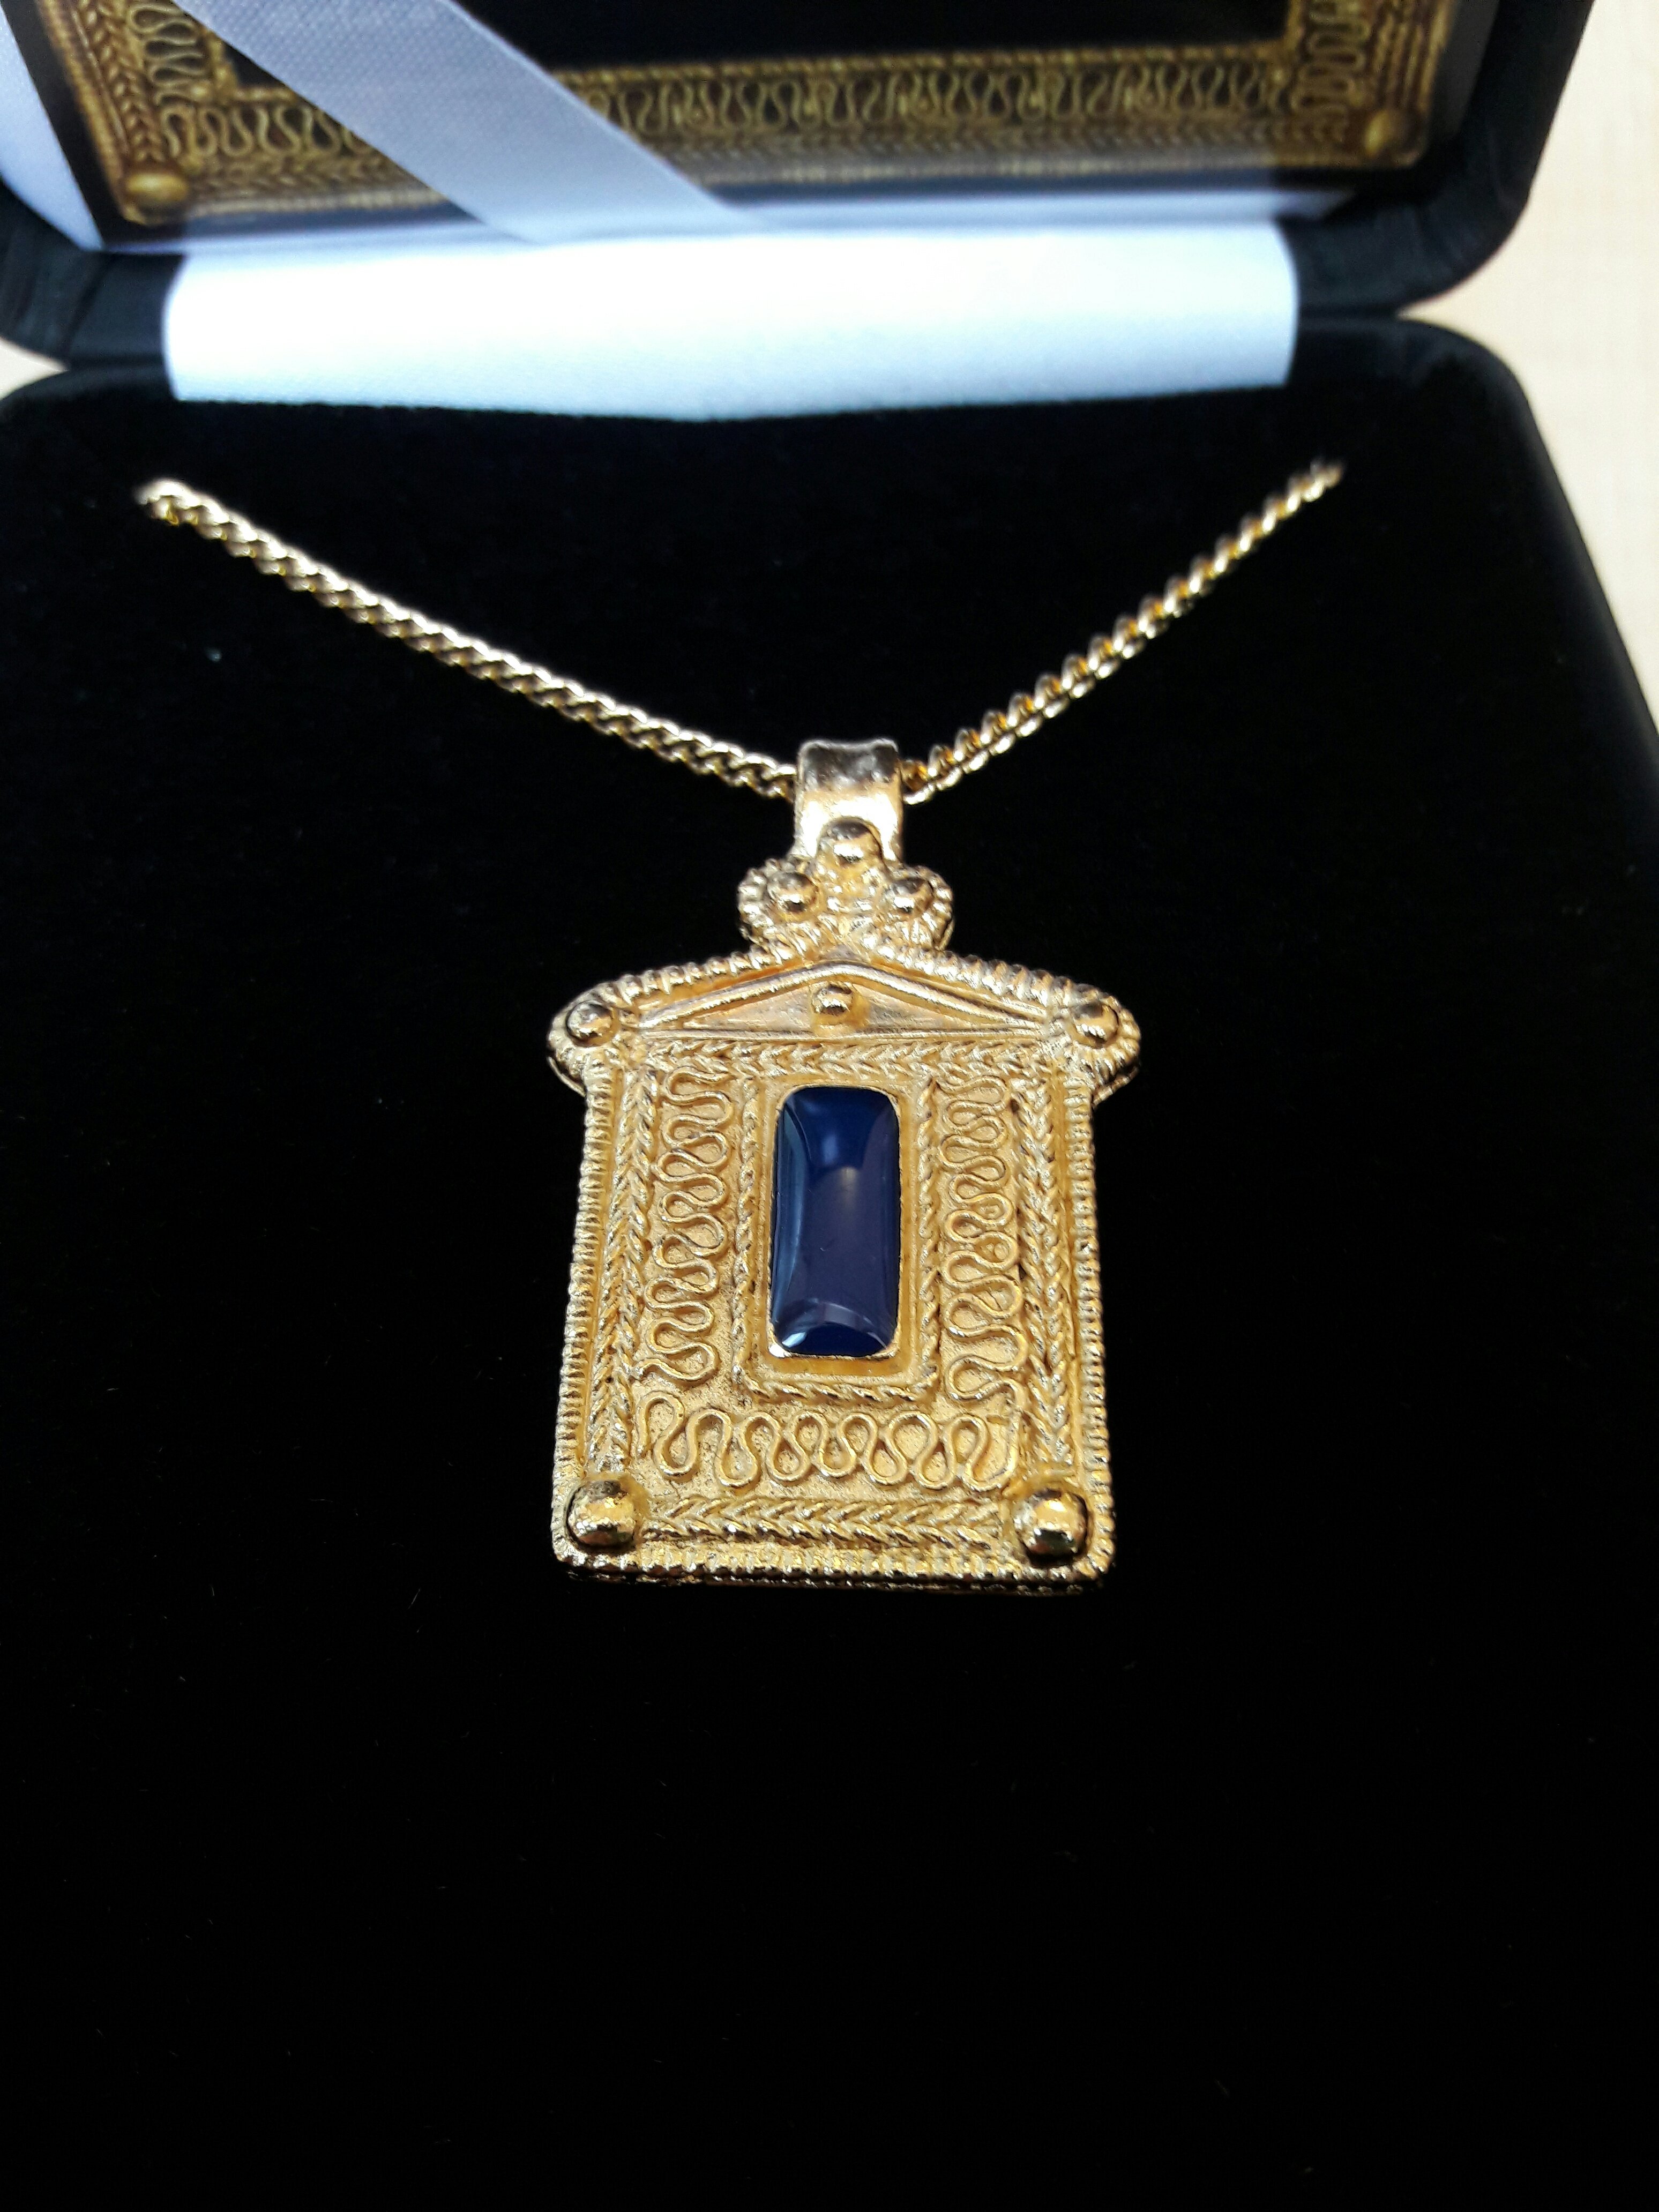
This style of tunic is seen up to the middle of the third century. I’m styling it as early third century, because I recently acquired this reproduction third century necklace.
All that really means is that I’ll need to practice some funky hairstyling before I wear this at an event.
I still need to find some tropical-weight wool to turn into a mantle to go over the whole thing, but I’m pretty happy with how it has turned out!
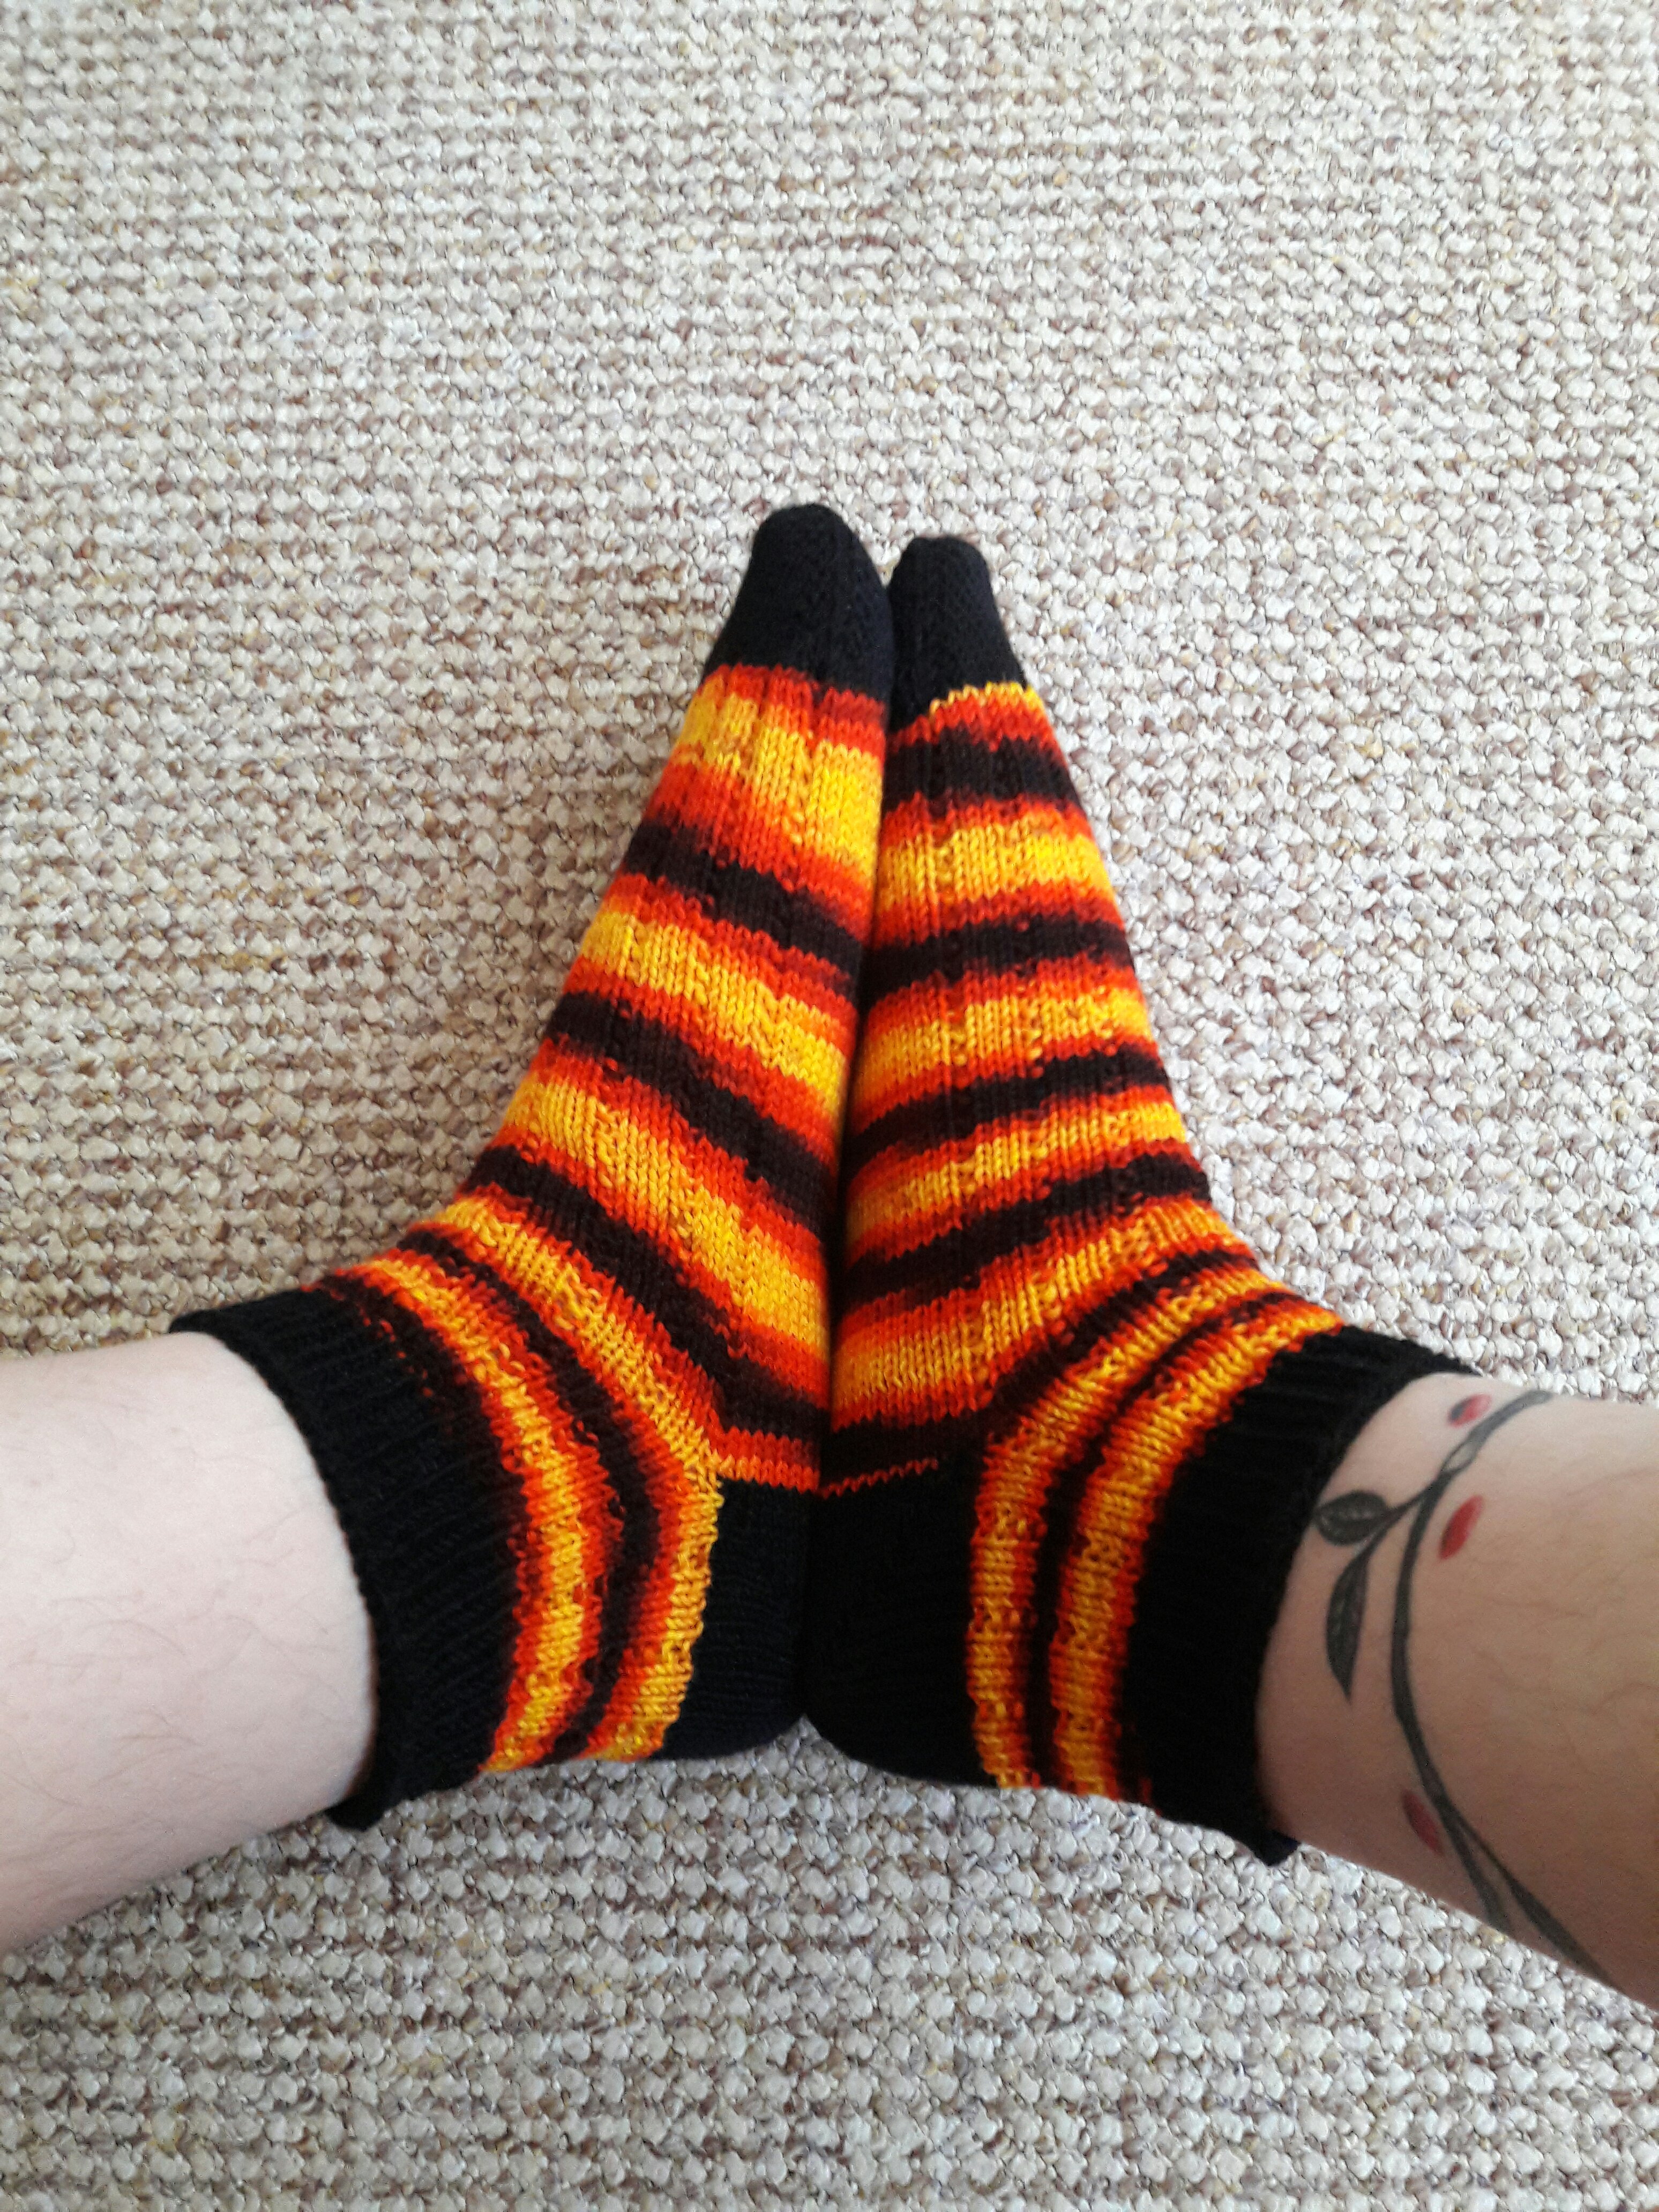
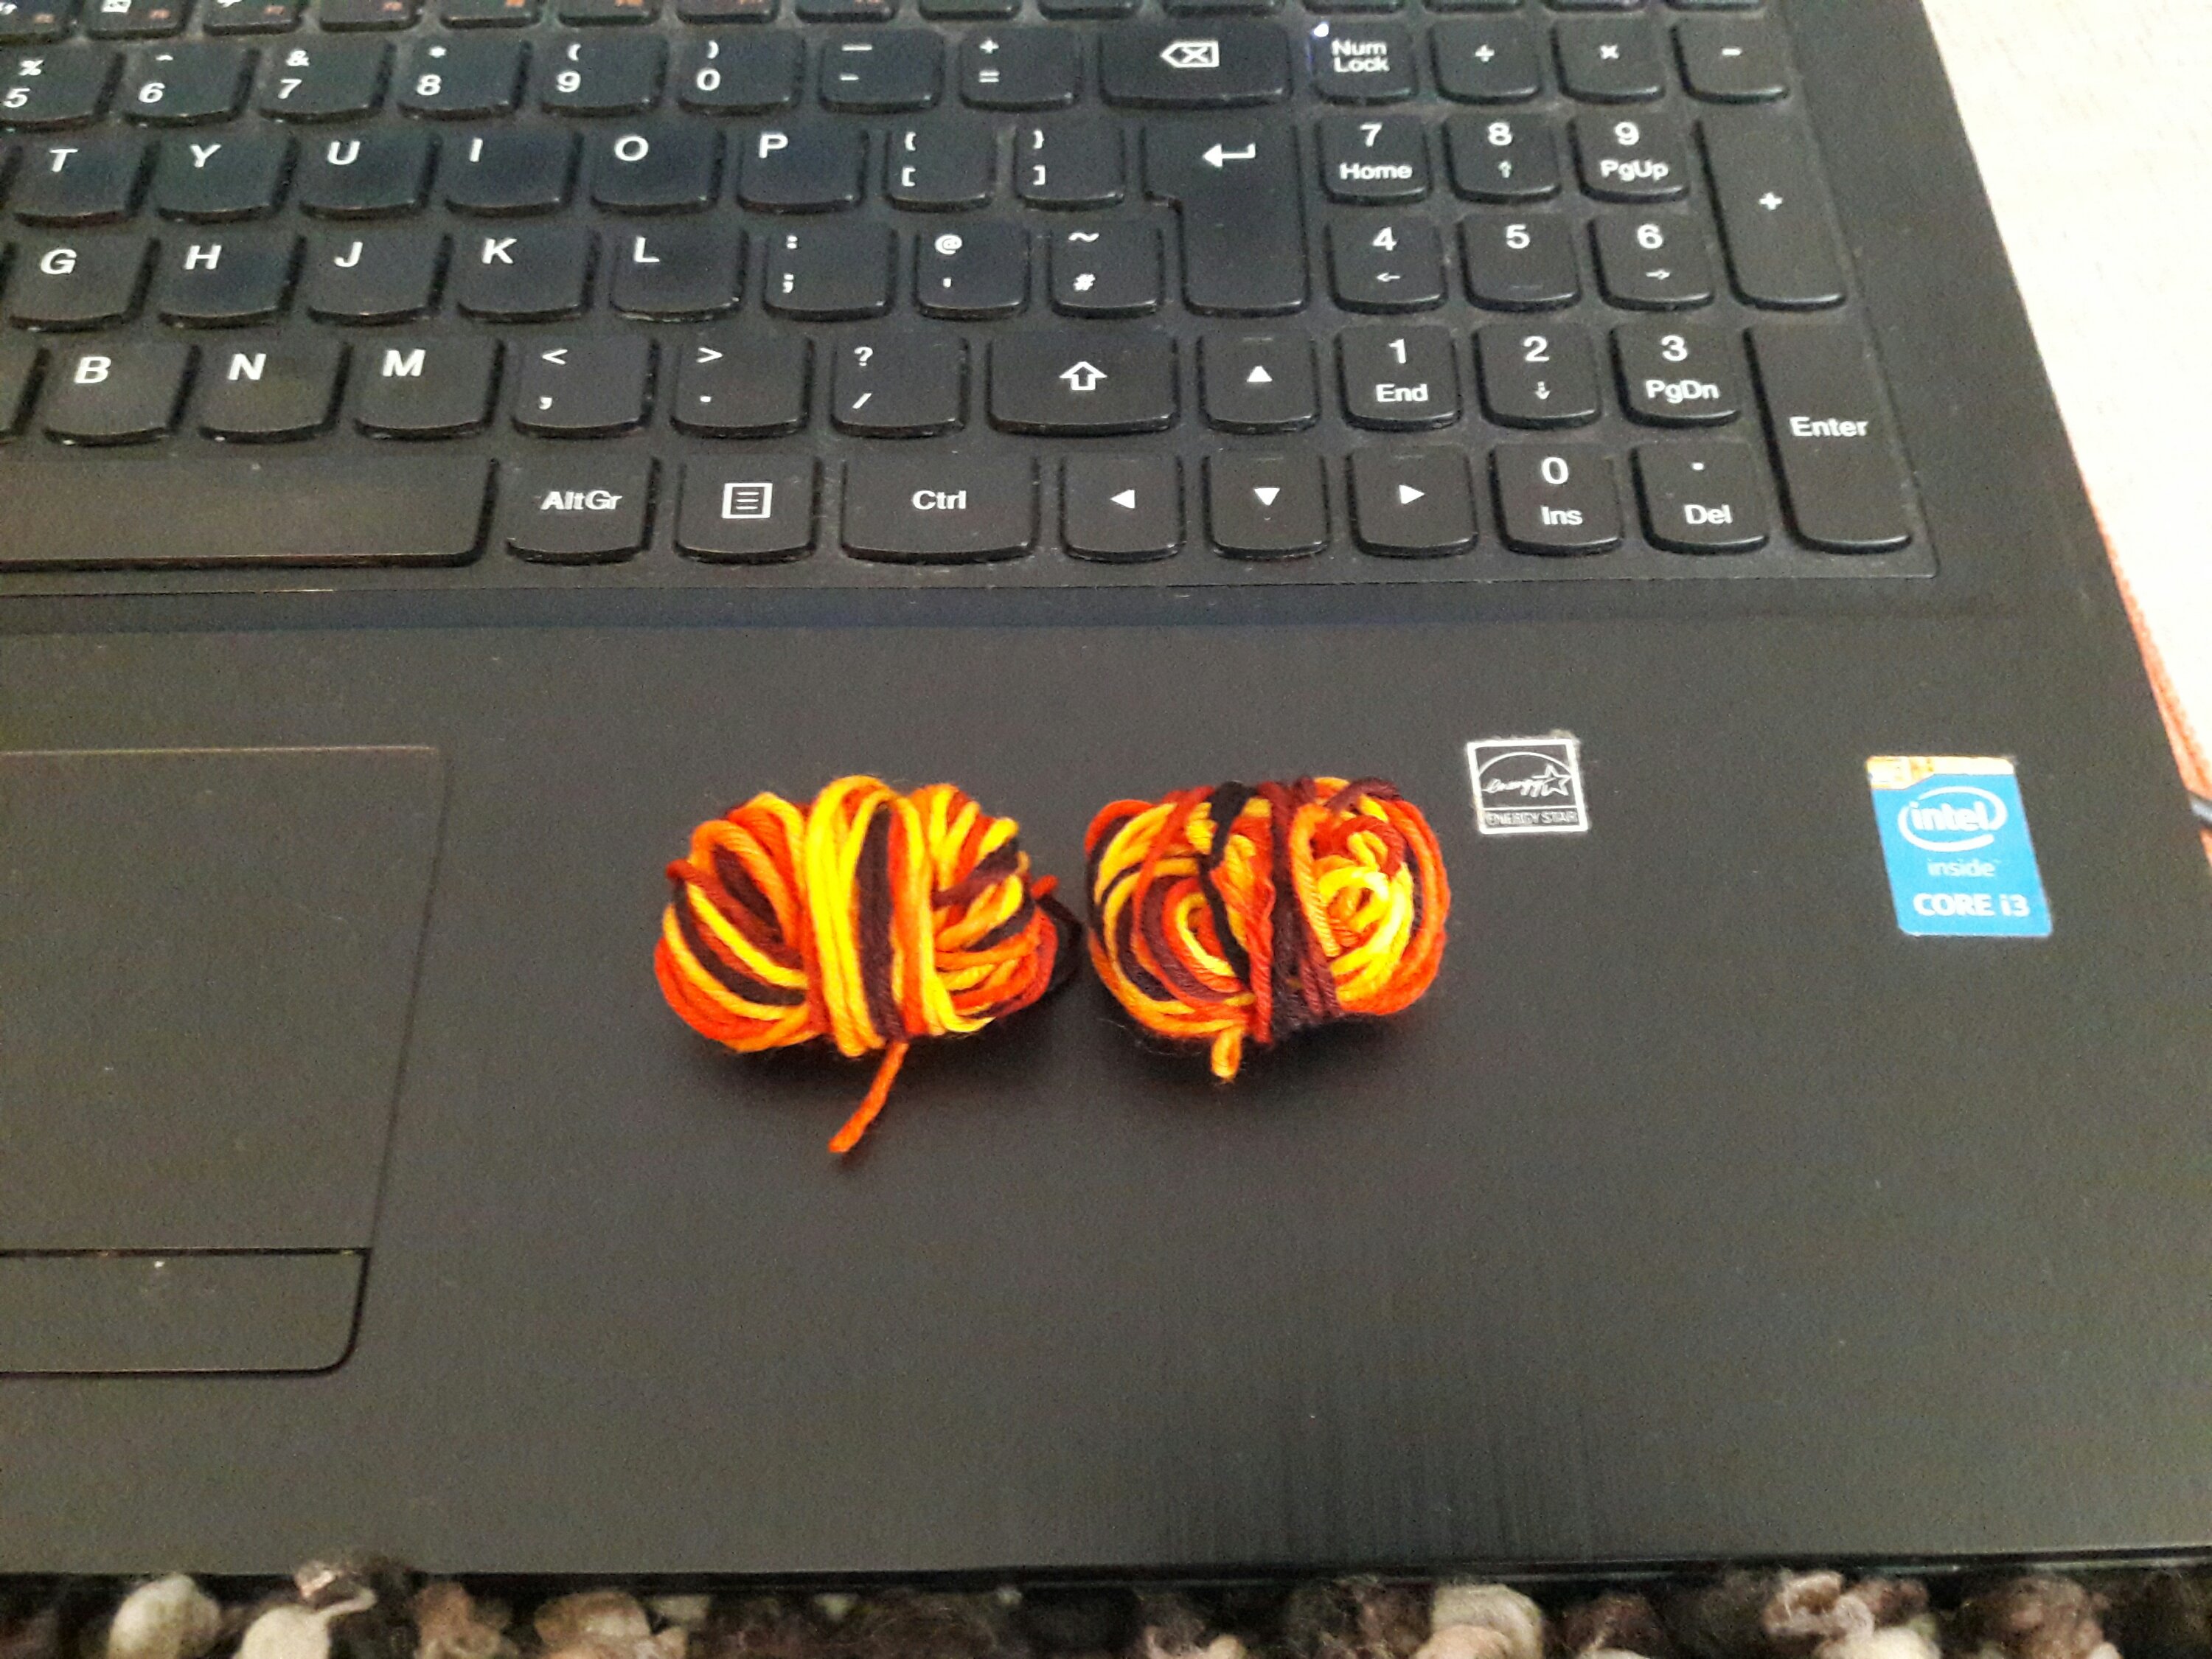
I’ve been working on using up partial skeins of yarn recently. Most of these resulted in the parade of baby hats, but I had rather a lot more of a skein of Wollmeise sock yarn that I wanted to do something else with. It wasn’t enough for a pair of socks on its own, but as luck would have it I also had an untouched skein of black Wollmeise in my stash. The result:
One pair of comfy ankle socks!
Yarn – Wollmeise Twin in Thriller and Wollmeise Pure Merino Superwash in Schwartz
Needles – 2.5mm. I started the toe on Addi metal circular needles and moved to my usual bamboo DPNs as soon as possible, since I loathe knitting socks with circular needles.
I don’t know about you, but my crafting nemesis is the last 2-5% of the project. Basically, I’m done with the project before the project is done with me. This mostly manifests in SCA clothing that is wearable but not done. I’m trying to stop doing this.
For now, I’m practising with my yarn. Remember the spindle full of singles in my last post?
2-ply mohair, 87g, 110 yards. Singles done on the spindle, plying done on my wheel.
Not a clue what I’m going to do with it, but hey, it’s plied and wet-finished. Actually done.